How to Use the Toilet Brush
Using a toilet brush correctly is essential for maintaining a clean and hygienic bathroom. This guide walks you through the proper steps, from pre-cleaning prep to post-use storage, ensuring your toilet stays spotless. With the right technique and consistent routine, your toilet brush becomes a powerful ally in daily sanitation.
Key Takeaways
- Choose the Right Brush: Opt for a toilet brush with a sturdy handle and durable bristles designed for tough stains and bacteria removal.
- Always Flush Before Cleaning: Flush the toilet first to loosen debris and make the cleaning process more effective.
- Use the Right Cleaner: Apply a disinfectant cleaner or toilet bowl cleaner directly to the brush and bowl to break down grime and kill germs.
- Scrub Thoroughly: Focus on the rim holes, under the rim, and the waterline—areas where bacteria and limescale commonly build up.
- Rinse and Disinfect: After use, rinse the brush under running water and sanitize it to prevent mold and odor.
- Store Properly: Keep the brush in a dry, ventilated holder to avoid moisture buildup and bacterial growth.
- Replace When Needed: Replace the brush every 3–6 months or sooner if bristles become frayed or the handle develops cracks.
📑 Table of Contents
- How to Use the Toilet Brush: A Complete Guide to Cleanliness and Hygiene
- Why a Toilet Brush Matters
- Choosing the Right Toilet Brush
- Step-by-Step: How to Use the Toilet Brush
- Pro Tips for Better Cleaning
- Common Mistakes to Avoid
- Maintaining Your Toilet Brush System
- Environmental and Health Considerations
- When to Replace Your Toilet Brush
- Final Thoughts: Make It a Habit
How to Use the Toilet Brush: A Complete Guide to Cleanliness and Hygiene
Let’s face it—no one enjoys talking about toilet brushes. But let’s also be honest: keeping your toilet clean isn’t just about appearance. It’s about health, hygiene, and preventing unpleasant odors. The toilet brush is one of the most important tools in your bathroom cleaning arsenal. When used correctly, it can eliminate bacteria, remove stubborn stains, and keep your toilet sparkling clean. But if you’re not using it the right way, you might be missing out—or even spreading germs.
This guide walks you through everything you need to know about how to use the toilet brush effectively. From choosing the right tool to storing it properly, we’ll cover every step with practical tips and real-life examples. Whether you’re a cleaning newbie or just looking to improve your routine, you’ll walk away with a clear understanding of how to use the toilet brush like a pro.
Why a Toilet Brush Matters
You might be wondering: why not just use a plunger or a cloth? The truth is, the toilet brush is uniquely designed to reach into the bowl’s nooks and crannies—especially under the rim and around the drain holes—where debris and bacteria love to hide. Unlike a plunger, which mainly deals with clogs, the toilet brush is built for cleaning. And unlike a cloth, it doesn’t absorb waste, making it much easier to rinse and sanitize.

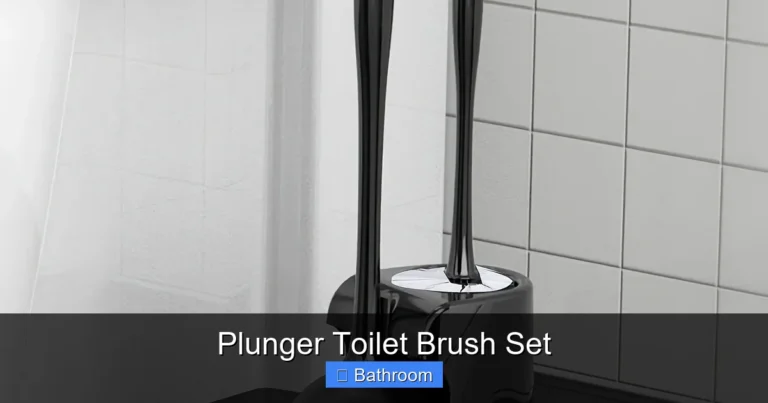
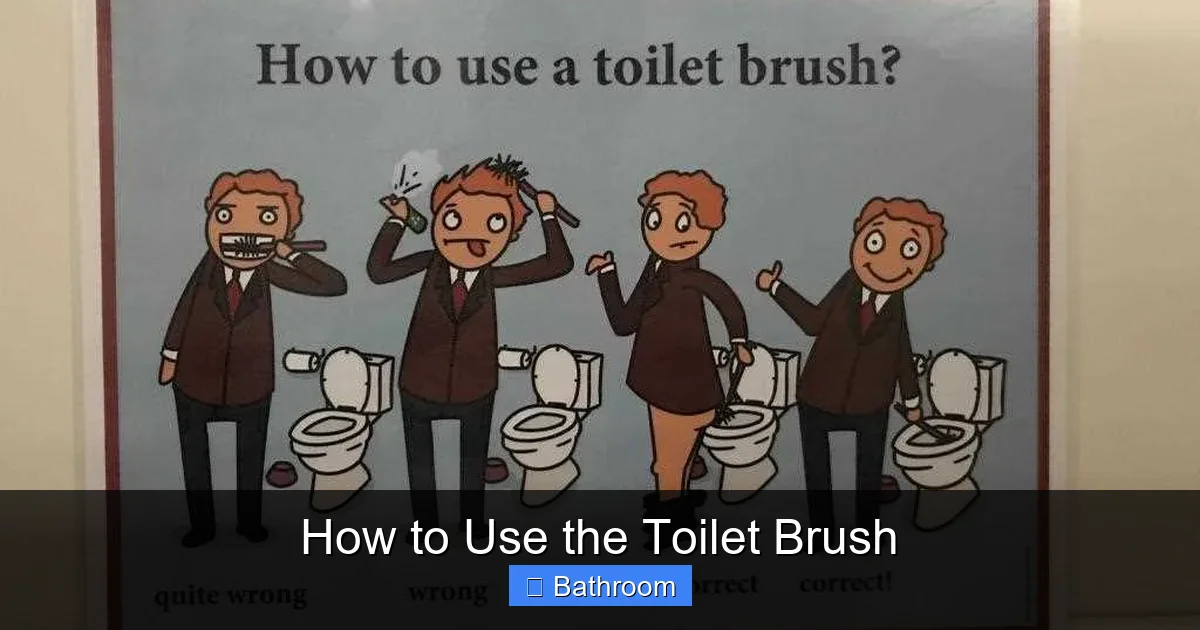
Visual guide about How to Use the Toilet Brush
Image source: static.vecteezy.com
But here’s the catch: many people use their toilet brushes incorrectly. They scrub quickly, skip rinsing, or store the brush in a wet holder—all of which can lead to mold, mildew, and even cross-contamination. The good news? With the right technique, your toilet brush can be a powerful, hygienic tool in your cleaning routine.
Choosing the Right Toilet Brush
What to Look for in a Toilet Brush
Not all toilet brushes are created equal. The best ones have a few key features:
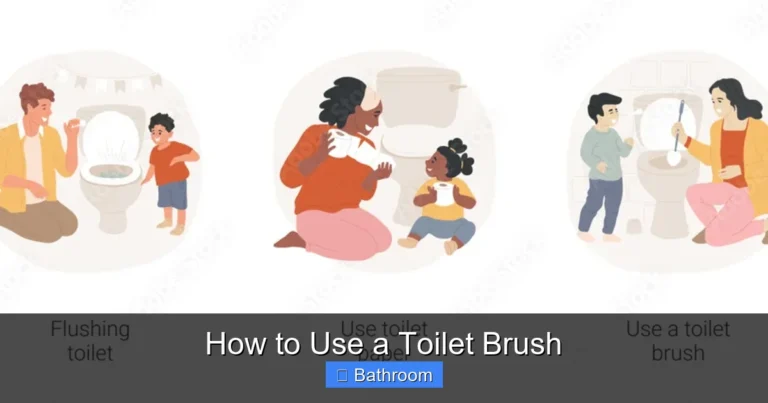
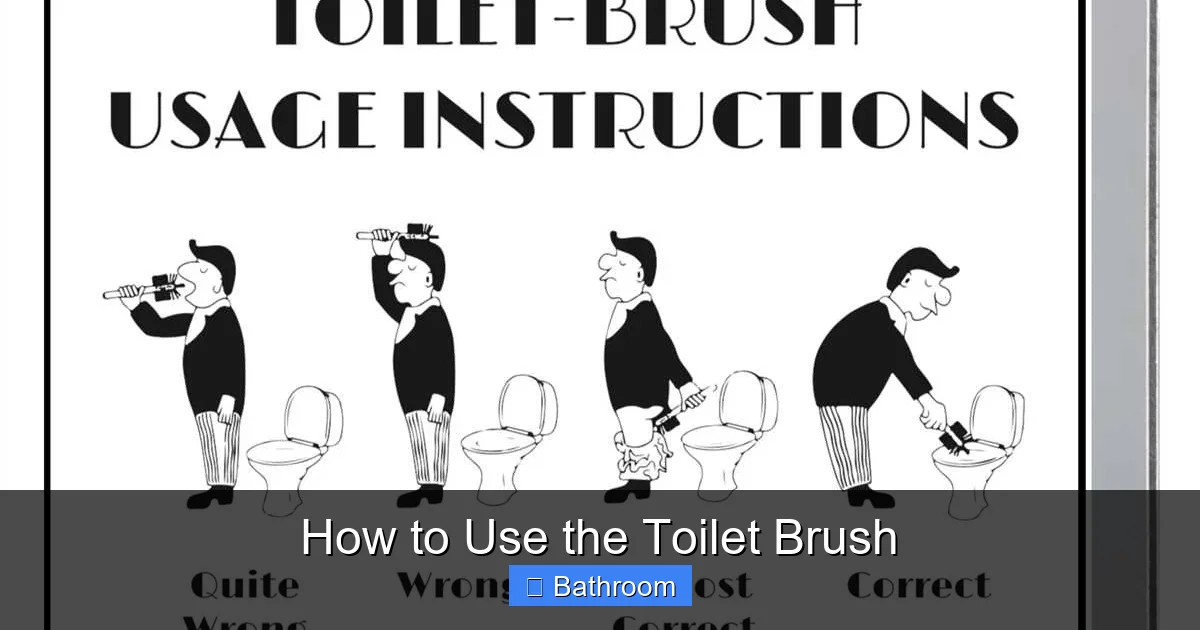
Visual guide about How to Use the Toilet Brush
Image source: cleanhomeexpert.co.uk
- Durable bristles: Look for stiff bristles made from high-quality nylon or polypropylene. These can handle tough stains without breaking down quickly.
- Ergonomic handle: A long, sturdy handle gives you better reach and control, especially for scrubbing under the rim.
- Easy-to-clean design: Some brushes have detachable heads or smooth surfaces that don’t trap grime.
- Sanitizing holder: A built-in holder with drainage or a lid can help keep the brush clean and dry between uses.
Popular Types of Toilet Brushes
There are several styles to choose from, each with pros and cons:
- Traditional brush and holder: The most common type. Simple, effective, and affordable.
- Wall-mounted brush: Saves space and keeps the brush off the floor, reducing contamination risk.
- Self-cleaning brush: Some modern models use UV light or automatic sprays to sanitize the brush after use.
- Disposable brush heads: Ideal for people who want to avoid deep cleaning the brush itself.
For most households, a traditional brush with a well-ventilated holder is the best balance of effectiveness and convenience.
Step-by-Step: How to Use the Toilet Brush
Step 1: Flush the Toilet First
Before you grab the brush, flush the toilet. This helps loosen any debris in the bowl and makes it easier to clean. It also reduces splatter when you start scrubbing.
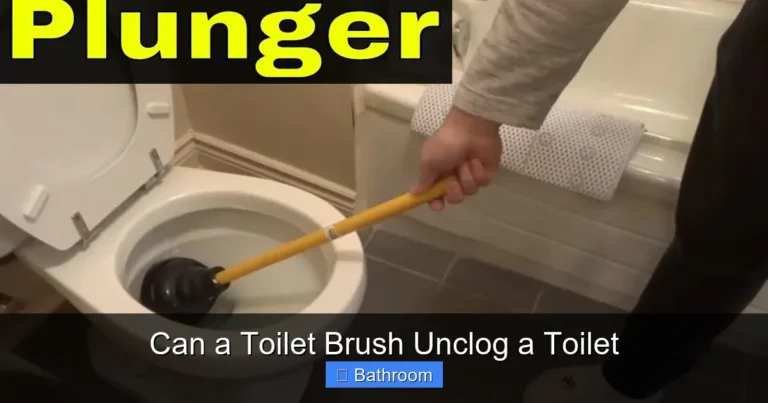
Visual guide about How to Use the Toilet Brush
Image source: cleanhomeexpert.co.uk
Step 2: Apply Cleaner
Spray or pour a toilet bowl cleaner around the inside of the bowl—especially under the rim and near the drain. Let it sit for a few minutes to break down stains and kill germs. For extra power, use a cleaner with bleach or hydrogen peroxide.
Step 3: Scrub the Bowl
Now it’s time to use the toilet brush. Here’s how to do it right:
- Start under the rim: This is where most bacteria and limescale build up. Use the brush to scrub in circular motions.
- Focus on the drain holes: Use the bristles to clean around the U-shaped drain. These areas trap hair and soap scum.
- Scrub the waterline: Wipe the inside of the bowl where the water meets the porcelain to remove stains and prevent rings.
- Don’t forget the outside: Wipe down the outside of the bowl, especially the seat hinge and base, with a disinfectant wipe.
Step 4: Flush Again
After scrubbing, flush the toilet to rinse away loosened debris and cleaner residue. This helps prevent clogs and ensures a clean finish.
Step 5: Rinse the Brush
Immediately rinse the brush under running water to remove any remaining cleaner and debris. Shake it vigorously to get rid of excess water.
Step 6: Disinfect the Brush
Soak the brush in a disinfectant solution (like diluted bleach or vinegar) for 5–10 minutes. Alternatively, spray it with a bathroom disinfectant and let it air dry.
Step 7: Store Properly
Place the brush back in its holder. Make sure the holder is clean, dry, and has good airflow. Avoid leaving the brush in a wet or sealed container, as this encourages mold growth.
Pro Tips for Better Cleaning
Clean Your Brush Weekly
Even if you use the brush daily, give it a deep clean once a week. Soak it in a mixture of one part bleach to four parts water for 15 minutes, then rinse thoroughly.
Use Gloves
Always wear rubber gloves when cleaning the toilet. This protects your hands from germs and prevents cross-contamination.
Replace the Brush Regularly
Over time, bristles wear out and become less effective. Replace your brush every 3 to 6 months, or sooner if you notice fraying or cracks.
Keep a Spare Brush Handy
If you have a large household or guests over often, consider keeping a second brush for emergencies. This reduces wear on your primary brush and ensures hygiene isn’t compromised.
Label the Holder
Some people label their brush holder with a “Toilet Only” sign to avoid confusion with other cleaning tools. This prevents cross-use and keeps things sanitary.
Common Mistakes to Avoid
Skipping the Pre-Clean Flush
Not flushing before cleaning leads to splatter and makes scrubbing harder. Always start with a flush.
Using the Brush for Other Surfaces
Never use your toilet brush to clean the shower, sink, or floor. It’s designed for one job only—and it should stay that way.
Leaving the Brush in Water
Don’t soak the brush in the toilet tank or leave it standing in water. This promotes bacterial growth and defeats the purpose of rinsing it.
Neglecting the Holder
The holder itself can harbor mold and germs. Clean it with soap and water weekly, and replace it if it starts to smell or look moldy.
Using Harsh Chemicals
While bleach works well, avoid mixing it with ammonia or other cleaners. This can create toxic fumes. Stick to safe, single-use disinfectants.
Maintaining Your Toilet Brush System
Clean the Holder Regularly
Your brush holder is just as important as the brush. Wipe it down with soapy water and a disinfectant spray every week. If it has a lid, make sure it opens and closes smoothly and doesn’t trap moisture.
Check for Wear and Tear
Inspect the brush weekly for signs of damage—cracks in the handle, loose bristles, or discoloration. A damaged brush can harbor bacteria and lose effectiveness.
Replace the Holder When Needed
Some holders are plastic and can crack or warp over time. If yours is cracked or doesn’t drain properly, replace it. A good holder is key to keeping your brush clean.
Consider a New System
If you’re tired of cleaning your brush, look into self-cleaning models or disposable brush heads. These can save time and improve hygiene.
Environmental and Health Considerations
Eco-Friendly Alternatives
If you’re concerned about plastic waste, look for toilet brushes made from recycled materials or biodegradable bristles. Some brands offer refillable handles with compostable brush heads.
Reduce Chemical Use
You don’t need harsh cleaners to get a spotless toilet. White vinegar, baking soda, and hydrogen peroxide are effective, eco-friendly options that kill germs and remove stains.
Prevent Cross-Contamination
Always use separate brushes for different areas of the bathroom. Never use a toilet brush in the kitchen or on other surfaces. This simple habit can prevent the spread of illness.
Teach Kids Proper Hygiene
If you have children, teach them how to use the toilet brush responsibly. Show them how to flush first, scrub thoroughly, and rinse the brush. Make it part of the bathroom routine.
When to Replace Your Toilet Brush
Signs It’s Time
- Bristles are frayed or falling out
- The handle is cracked or wobbly
- The brush smells bad even after cleaning
- It’s been over 6 months since you bought it
- You notice mold in the holder
Replacing your brush isn’t just about cleanliness—it’s about safety. A damaged brush can scratch the porcelain, create cracks where bacteria grow, or even injure you.
How to Dispose of Old Brushes
Most toilet brushes can go in the trash, but check the packaging. Some plastic components may be recyclable. If you’re unsure, throw the whole thing away to avoid contamination.
Final Thoughts: Make It a Habit
Using the toilet brush correctly doesn’t have to be complicated. With a few simple steps and consistent habits, you can keep your toilet clean, your bathroom smelling fresh, and your family healthy. The key is to make it part of your routine—just like brushing your teeth.
Remember: cleanliness is not about perfection. It’s about doing the basics well. Flush first. Scrub thoroughly. Rinse and store properly. And don’t forget to clean your brush and holder regularly.
With this guide, you’re now equipped to use the toilet brush like a pro. Your bathroom will thank you—and so will your guests.
Frequently Asked Questions
How often should I clean my toilet brush?
You should rinse your toilet brush after every use and deep clean it (with disinfectant) at least once a week. This prevents mold and keeps it hygienic.
Can I use my toilet brush for other surfaces?
No. The toilet brush should only be used for cleaning the toilet bowl. Using it elsewhere can spread germs and contaminate other areas.
How do I remove limescale from my toilet brush?
Soak the brush in a mixture of white vinegar and water for 30 minutes. Scrub with a toothbrush if needed, then rinse thoroughly.
What’s the best way to store a toilet brush?
Store it in a clean, dry, well-ventilated holder. Avoid sealed containers or soaking it in water, as this encourages bacterial growth.
Can I clean my toilet brush in the dishwasher?
Some plastic toilet brushes are dishwasher-safe, but check the manufacturer’s instructions first. Most should be cleaned by hand to preserve the bristles.
How long does a toilet brush last?
A toilet brush typically lasts 3 to 6 months with regular use. Replace it sooner if the bristles are frayed, cracked, or no longer effective.