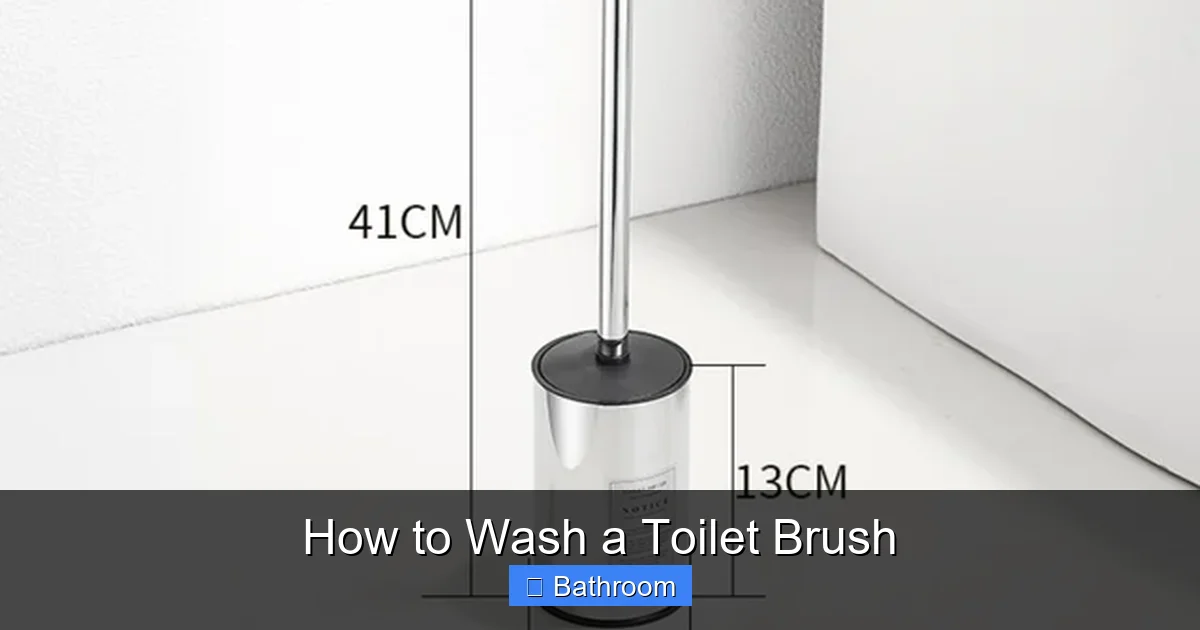
How to Wash a Toilet Brush
Keeping your toilet brush clean isn’t just about appearance—it’s essential for hygiene and long-term performance. A dirty brush can spread germs instead of removing them, so regular cleaning is key. Follow these simple steps to wash your toilet brush effectively and prevent mold, bacteria, and unpleasant odors.
Key Takeaways
- Understanding How To Wash A Toilet Brush: Provides essential knowledge
📑 Table of Contents
- How to Wash a Toilet Brush: A Complete Guide to Cleanliness and Hygiene
- Why Washing Your Toilet Brush Matters
- When to Wash Your Toilet Brush
- What You’ll Need to Wash Your Toilet Brush
- Step-by-Step Guide to Washing Your Toilet Brush
- Tips for Maintaining a Clean Toilet Brush
- Common Mistakes to Avoid
- Eco-Friendly Alternatives to Traditional Brushes
- When to Replace Your Toilet Brush
- Final Thoughts: Make It a Habit
How to Wash a Toilet Brush: A Complete Guide to Cleanliness and Hygiene
Let’s be honest—no one enjoys talking about toilet brushes. But when it comes to bathroom hygiene, this humble tool plays a surprisingly important role. Every time you scrub the bowl, the brush picks up bacteria, residue, and microscopic gunk. If not cleaned properly, it becomes a breeding ground for germs rather than a germ-fighting weapon. The good news? Washing your toilet brush is simple, quick, and essential for a healthier home.
In this guide, we’ll walk you through the best practices for cleaning your toilet brush, from daily maintenance to deep sanitizing. Whether you have a traditional brush with a stand or a modern self-cleaning model, these tips will help you keep your brush—and your bathroom—fresh and germ-free. By the end, you’ll understand why washing your toilet brush isn’t just a chore, but a crucial part of your cleaning routine.
Why Washing Your Toilet Brush Matters
You might think, “It just sits in the corner—how dirty can it really get?” But the reality is that your toilet brush collects more than just dirt. It holds onto bacteria like E. coli and Salmonella, mold spores, and even traces of urine and toilet cleaner. Without proper cleaning, these contaminants can linger and spread throughout your bathroom, especially if the brush isn’t stored correctly.

Visual guide about How to Wash a Toilet Brush
Image source: 5.imimg.com
Studies show that bathroom surfaces can harbor up to 10,000 times more bacteria than toilet seats. The brush, sitting in a damp holder, becomes a hotspot for microbial growth. Regular washing reduces this risk and helps maintain a cleaner, more sanitary bathroom environment. Plus, a clean brush works better—frayed bristles or buildup can reduce scrubbing power, leaving behind stubborn stains.
When to Wash Your Toilet Brush
Consistency is key when it comes to toilet brush hygiene. Don’t wait until you notice mold or a funky smell. Instead, make it part of your weekly cleaning routine. Here’s a simple schedule to follow:

Visual guide about How to Wash a Toilet Brush
Image source: down-my.img.susercontent.com
- After every use: Rinse the brush with water to remove excess debris.
- Weekly: Give it a full wash and sanitize it.
- Monthly: Deep clean the brush holder and surrounding area.
- Every 3–6 months: Consider replacing the brush, especially if it’s old or damaged.
Think of it like washing your hands after using the bathroom—habitual and necessary. By incorporating brush cleaning into your routine, you’ll avoid surprises and keep your bathroom smelling fresh.
What You’ll Need to Wash Your Toilet Brush
You don’t need fancy equipment or expensive cleaners. Most household items will do the job. Here’s what to gather before you start:
Visual guide about How to Wash a Toilet Brush
Image source: images.nexusapp.co
- Warm water – Hot water helps dissolve grime and opens pores in the bristles.
- Mild dish soap or all-purpose cleaner – Avoid harsh chemicals that can irritate skin or damage the brush.
- Disinfectant spray or bleach solution (optional) – For extra sanitizing power.
- A small brush or toothbrush – To clean hard-to-reach spots in the holder.
- Gloves – To protect your hands from germs and cleaning agents.
- A clean towel or paper towels – For drying.
If you’re using a bleach solution, mix one part bleach with four parts water. Never mix bleach with ammonia—it creates toxic fumes. For brushes made of natural fibers or metal, avoid bleach to prevent corrosion or discoloration.
Step-by-Step Guide to Washing Your Toilet Brush
Now that you’re ready, let’s get into the actual cleaning process. Follow these steps for a thorough and safe wash every time.
Step 1: Remove the Brush from the Holder
Start by taking the brush out of its stand. If it’s stuck or has dried-on residue, gently twist or wiggle it to loosen it. Avoid pulling too hard, as this could damage the holder or break the brush handle.
Step 2: Rinse Off Excess Debris
Hold the brush under warm running water and swish it back and forth to remove loose dirt and debris. This helps prevent clogging your sink drain and makes the next steps easier.
Step 3: Scrub with Soap and Water
Dip the brush into a bowl of warm, soapy water. Use your fingers to scrub the bristles thoroughly, paying attention to the base of the bristles where gunk tends to collect. For stubborn buildup, use a soft brush or old toothbrush to gently clean around the base.
Step 4: Rinse Again
Rinse the brush under clean water until all soap and debris are gone. Make sure no soap residue remains—it can attract more dirt over time.
Step 5: Sanitize (Optional but Recommended)
For extra protection, soak the brush in a disinfectant solution for 10–15 minutes. You can use a bleach solution (1:4 ratio) or a commercial disinfectant spray. After soaking, rinse well to remove any chemical smell.
Step 6: Dry Completely
Shake off excess water and place the brush upright in a clean, dry holder. If your holder has drainage holes, that’s perfect—it allows airflow. Never cover the brush or store it in a sealed container while damp, as this encourages mold growth.
Step 7: Clean the Holder and Surrounding Area
While the brush dries, clean the holder with soapy water and a brush. Rinse thoroughly and let it air dry. Wipe down the base of the bathroom floor where splashes may have occurred. This step is often overlooked but critical for overall hygiene.
Tips for Maintaining a Clean Toilet Brush
Cleaning the brush is only half the battle. How you store and maintain it makes a big difference. Here are some pro tips to keep your brush—and your bathroom—in top shape.
Store the Brush Upright
Always store the brush standing up, not lying down. This allows water to drain and prevents pooling, which leads to mold. If your holder doesn’t have drainage, consider placing a small dish or coaster underneath to catch drips.
Use a Ventilated Holder
Choose a holder with airflow—open sides or mesh panels work best. Avoid sealed plastic containers, which trap moisture and create a perfect environment for bacteria.
Replace the Brush Regularly
Even with perfect cleaning, brushes wear out. Replace your brush every 3 to 6 months, or sooner if the bristles are frayed, discolored, or smell bad. A worn brush is less effective and harder to clean.
Wash Your Hands After Handling
After cleaning the brush, wash your hands with soap and water. This simple habit prevents transferring germs to other surfaces, like doorknobs or countertops.
Deep Clean Monthly
Once a month, give the brush and holder a deep clean. Soak the brush in vinegar or hydrogen peroxide for 15 minutes to kill mold and mildew. Then scrub and rinse thoroughly.
Consider a Self-Cleaning Brush
If you’re tired of constant cleaning, invest in a self-cleaning brush system. These models have UV lights, rotating bristles, or automatic sanitizing sprays that reduce manual cleaning. They’re more expensive but offer convenience and peace of mind.
Common Mistakes to Avoid
Even with good intentions, it’s easy to make mistakes when cleaning your toilet brush. Here are some common errors and how to fix them.
Mistake 1: Using Bleach on All Brushes
While bleach is effective, it can damage natural bristles or corrode metal handles. Test a small area first, and avoid it if your brush has wood, rubber, or non-plastic parts.
Mistake 2: Not Drying the Brush
Leaving a wet brush in a sealed container leads to mold. Always dry it completely and store it upright in a ventilated space.
Mistake 3: Skipping the Holder
The holder is often dirtier than the brush. Clean it regularly to prevent cross-contamination.
Mistake 4: Using Harsh Chemicals
Ammonia, bleach, and strong solvents can damage bristles and emit fumes. Stick to mild soap and disinfectants.
Mistake 5: Waiting Too Long to Replace
Don’t keep using a brush that’s visibly dirty or worn. Replace it promptly to maintain hygiene.
Eco-Friendly Alternatives to Traditional Brushes
If you’re looking to reduce plastic waste or improve sustainability, consider eco-friendly toilet brush options. These are made from biodegradable materials and often come with compostable handles.
- Bamboo brushes: Natural, durable, and compostable at the end of their life.
- Recycled plastic brushes: Made from post-consumer plastic, reducing landfill waste.
- Refillable systems: Some brands offer replaceable brush heads, so you only change the bristles, not the whole handle.
These options are just as effective as traditional brushes and align with green living goals. Just make sure to clean and dry them the same way as plastic brushes.
When to Replace Your Toilet Brush
No brush lasts forever. Over time, bristles wear down, become brittle, or trap bacteria no matter how well you clean them. Here’s how to know when it’s time to say goodbye:
- Bristles are frayed or falling out: This reduces cleaning power and can scratch porcelain.
- Discoloration or staining: Yellow or black buildup indicates deep-seated grime that’s hard to remove.
- Persistent odor: Even after cleaning, the brush smells bad—this means bacteria have taken hold.
- Cracks in the handle: These can harbor mold and bacteria.
Don’t wait for these signs. Replace the brush proactively every 3 to 6 months. It’s a small cost for big health benefits.
Final Thoughts: Make It a Habit
Washing your toilet brush might not be glamorous, but it’s one of the most important hygiene habits you can adopt. It’s quick, affordable, and makes a real difference in your bathroom’s cleanliness. By following these steps and maintaining a routine, you’ll keep your brush effective, your bathroom fresh, and your family healthier.
Remember: cleanliness isn’t just about looking good—it’s about feeling good and staying safe. Take five minutes each week to wash your brush, and you’ll avoid bigger problems down the line. And hey, a clean toilet brush means a cleaner bathroom and a cleaner conscience.
So go ahead—grab that brush, give it a good scrub, and store it upright. Your future self (and your guests) will thank you.
Frequently Asked Questions
How often should I wash my toilet brush?
You should wash your toilet brush at least once a week. Rinse it after each use, and give it a full wash and sanitize it weekly to prevent mold and bacteria buildup.
Can I use bleach to clean my toilet brush?
Yes, but only if your brush is made of plastic or safe materials. Mix one part bleach with four parts water, soak the brush for 10–15 minutes, then rinse thoroughly. Avoid bleach on wood, metal, or natural bristles.
How do I get rid of mold on my toilet brush?
Soak the brush in a solution of equal parts white vinegar and water for 15–20 minutes. Scrub with a brush, rinse well, and dry completely. Repeat if necessary, and clean the holder too.
Should I leave the toilet brush in the holder after cleaning?
Yes, but only if the holder is clean and ventilated. Store the brush upright so it dries completely. Never cover it or store it in a sealed container while damp.
How long does a toilet brush last?
A toilet brush typically lasts 3 to 6 months with regular use. Replace it sooner if bristles are frayed, discolored, or if it develops a persistent odor despite cleaning.
Can a dirty toilet brush spread germs?
Yes, if not cleaned properly. A dirty brush can harbor bacteria and mold, especially in a damp holder. Regular washing and proper storage help prevent germ spread.