How to Make a Study Desk at Home
Building your own study desk at home is a rewarding project that saves money and creates a perfectly tailored workspace. This guide covers everything from planning and material selection to assembly and ergonomic finishing. You’ll learn practical woodworking basics, safety tips, and customization ideas to build a sturdy, functional desk that fits your space and style perfectly.
Ever stared at a blank wall and wished for a dedicated, clutter-free zone to study, work, or create? A proper desk can transform your productivity and focus. But what if the perfect desk isn’t in a catalog—it’s in your garage, waiting to be built? Learning how to make a study desk at home is one of the most empowering and practical DIY projects you can undertake. It’s not about being a master carpenter; it’s about solving a problem with your own two hands, saving money, and ending up with something uniquely yours.
This guide will walk you through every single step, from that first spark of an idea to the final wipe-down with a cloth. We’ll keep it simple, safe, and totally doable. Forget complex joinery and expensive hardwoods for your first build. We’re focusing on smart, functional design using accessible materials and tools. By the end, you’ll have the confidence and a clear blueprint to build a beautiful, sturdy study desk that fits your space, your body, and your budget. Let’s get your hands dirty and your workspace built.
Key Takeaways
- Plan meticulously: Measure your space twice, consider your workflow, and sketch a simple design before buying any materials to avoid costly mistakes.
- Material choice is key: Select wood or alternatives like plywood, butchers block, or repurposed materials based on your budget, skill level, and desired durability.
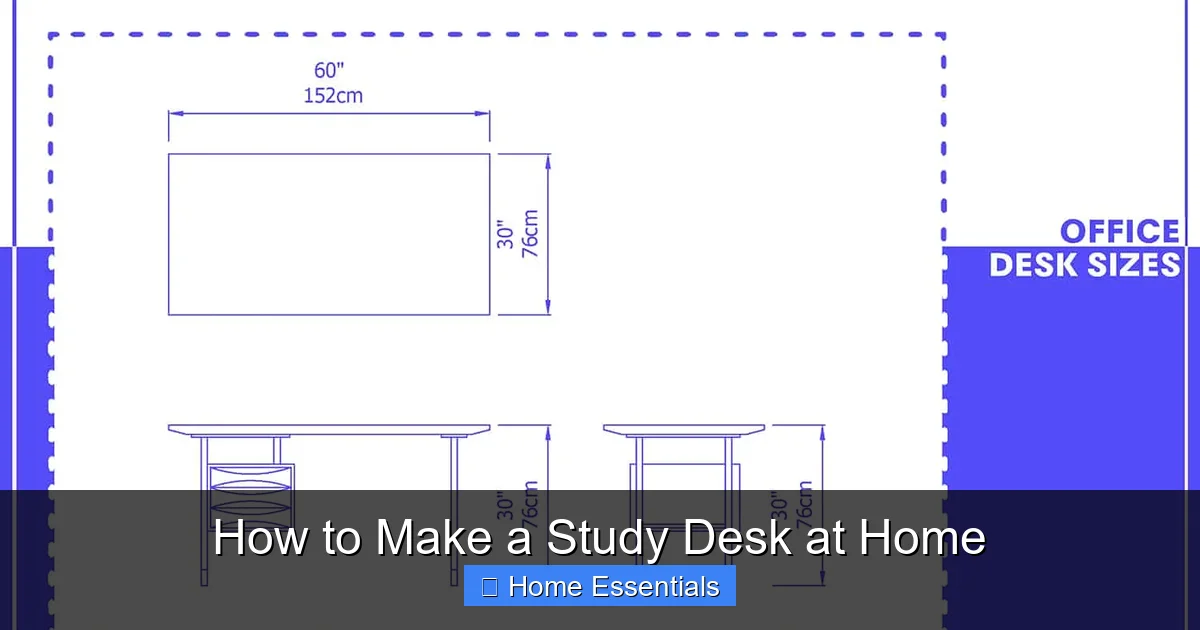
- Prioritize ergonomics: Ensure the final desk height (typically 28-30 inches) suits your chair and allows for proper posture to prevent strain during long study sessions.
- Finishing protects and beautifies: Sanding thoroughly and applying a sealant, paint, or stain are non-negotiable steps for a professional look and long-lasting surface.
- Safety first: Always wear appropriate safety gear like goggles and gloves, and ensure your work area is well-ventilated, especially when cutting or finishing.
- Integrate smart functionality: Consider built-in cable management, charging ports, or compatible lighting solutions during the build for a modern, clutter-free desk.
📑 Table of Contents
- Phase 1: The Blueprint – Planning Your Perfect DIY Desk
- Phase 2: Choosing Your Materials – Beauty Meets Budget
- Phase 3: The Tool Shed – Essential Gear for the Job
- Phase 4: The Build – Step-by-Step Assembly
- Phase 5: The Magic – Sanding, Finishing, and Flair
- Phase 6: Beyond the Build – Ergonomics, Lighting, and Final touches
- Phase 7: Care and Maintenance for a Long-Lasting Desk
Phase 1: The Blueprint – Planning Your Perfect DIY Desk
Rushing to the hardware store is the #1 mistake beginners make. A successful build is 80% planning. This phase is all about dreaming on paper and measuring in reality.
Assess Your Space and Needs
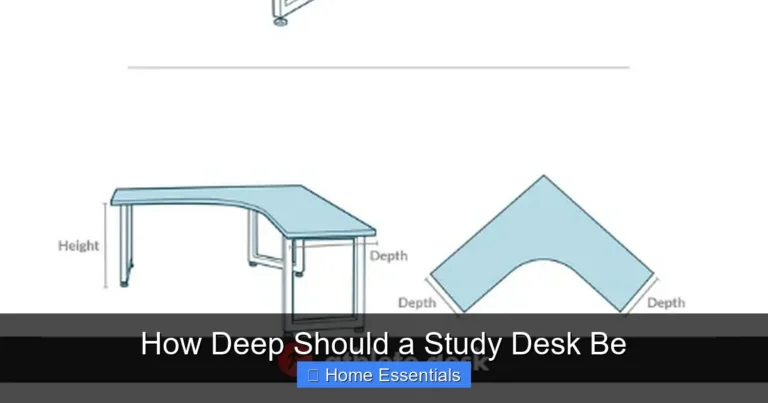
First, stand where the desk will live. Grab a tape measure. How wide can you go? How deep? Consider the swing of doors, the location of outlets, and window views. A standard desk depth is 24-30 inches, but if you use multiple monitors or spread out papers, 30+ inches is a game-changer. Width is flexible—a cozy 48 inches suits a corner, while a sprawling 72 inches dominates a wall.
Next, think about you. How tall are you? Your ideal desk height is roughly your sitting elbow height. For most adults, that’s 28-30 inches from the floor to the desktop surface. If you’re building for a child or want a standing desk option, adjust accordingly. Will you need storage? Drawers? Shelves? A simple hutch? List your non-negotiables.
Sketch It Out – Simple is Best
You don’t need CAD software. Grab a notebook and pencil. Draw a simple rectangle for the top. Add legs. This is your “form follows function” moment. A classic trestle desk (two A-frame bases) is incredibly stable and easy to build. A four-leg desk with aprons (the frame that connects legs to top) is also simple. Consider a floating desk (secured to the wall with brackets) if floor space is ultra-tight. Sketch a few ideas. Note your final dimensions.
- Pro Tip: Search for “free DIY desk plans PDF” online. Sites like Ana White or Instructables have hundreds of tested, dimensioned plans you can adapt. This saves you from reinventing the wheel.
Phase 2: Choosing Your Materials – Beauty Meets Budget
This is where your vision meets reality. The material you choose dictates your cost, tools needed, and final aesthetic.
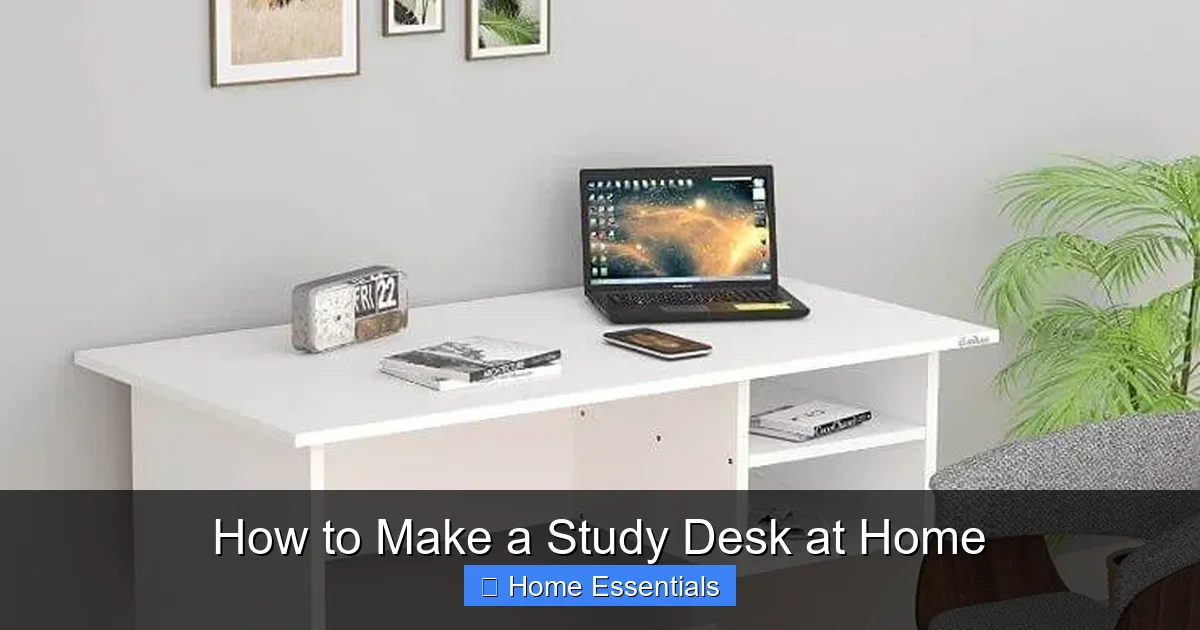
Visual guide about How to Make a Study Desk at Home
Image source: risalafurniture.ae
Solid Wood vs. Engineered Wood
Solid Wood (Pine, Oak, Maple): The classic choice. It’s beautiful, strong, and can be sanded and refinished endlessly. Pine is soft, affordable, and easy to work with but dents easily. Hardwoods like oak are tougher and more expensive. You’ll need a saw to cut it to size.
Engineered Wood (Plywood, MDF, Butcher Block): The modern, budget-friendly hero. A good-quality Baltic birch plywood is incredibly stable, has a nice veneer, and resists warping. It’s perfect for a desktop. Medium-Density Fiberboard (MDF) is super smooth for painting but is heavy, dusty to cut, and hates moisture. Pre-cut butcher block from a home center is a fantastic shortcut—just add legs!
The Repurpose & Upcycle Route
Want a rustic look and near-zero cost? Look around. An old door can be a stunning desktop. A pair of vintage sawhorses or file cabinets can become legs. Pallets (ensure they’re heat-treated, not chemically treated) can be disassembled for planks. This route requires more cleaning and potential repair but oozes character. Always inspect for rot, nails, or bugs.
- Material Checklist: For a simple 48”x24” desk, you’ll typically need: one sheet of ¾” plywood or a solid wood top, four 2x4s for legs/frame, wood glue, screws, and your finish.
Phase 3: The Tool Shed – Essential Gear for the Job
You don’t need a professional workshop. A focused set of tools will get this done. Borrow or rent what you don’t own.
Visual guide about How to Make a Study Desk at Home
Image source: img.lazcdn.com
Must-Haves for Cutting and Shaping
- Measuring Tools: Tape measure, combination square, pencil.
- Saw: A circular saw is the workhorse for straight cuts in plywood. A handsaw works for small jobs but is tiring. For 2x4s, a miter saw makes perfect 90-degree cuts easy, but a circular saw with a guide works too.
- Drill: A cordless drill/driver is indispensable for pilot holes and driving screws.
- Sanding: An orbital sander (with 80, 120, 220 grit paper) will save your arms and produce a smoother surface than hand-sanding alone.
Assembly and Safety Gear
- Clamps: At least two 24” bar clamps or F-clamps to hold pieces together while gluing and screwing.
- Safety: Safety glasses, dust mask (especially for MDF/sanding), and hearing protection for power tools.
- Level: A 4-foot level is crucial to ensure your desk isn’t a funhouse mirror.
Before you start, read the manual for every power tool. Respect the tool, and it will respect you.
Phase 4: The Build – Step-by-Step Assembly
Time to turn parts into a whole. Work in a spacious, well-lit area like a garage or basement. Lay down a drop cloth.
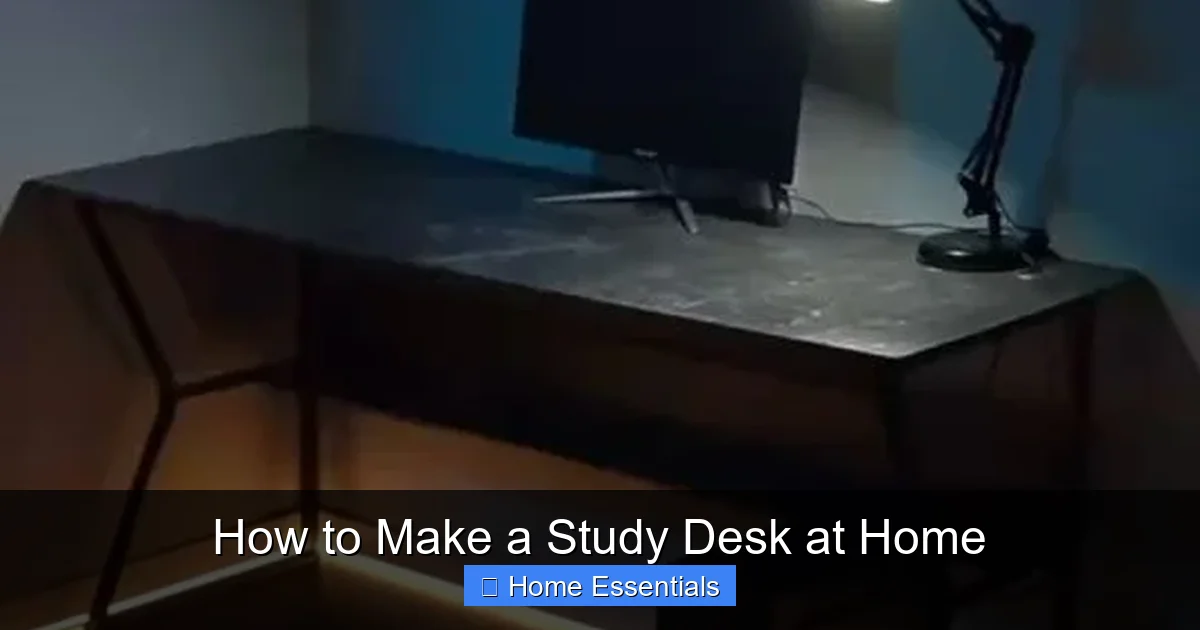
Visual guide about How to Make a Study Desk at Home
Image source: homenish.com
Step 1: Cut Your Pieces to Size
Lay your plywood or board on a stable surface, supported by sawhorses. Use your tape measure and square to mark cut lines twice, cut once. For a rectangular desk, you’ll need: the top, two aprons (side frames), and two stretchers (front/back support). Cut your 2x4s for the legs to your desired height (minus the top thickness). If using a trestle design, cut the legs and the cross-braces accordingly.
Step 2: Create the Base Frame
This is your desk’s skeleton. Lay two aprons parallel, spaced the width of your desk apart. Attach the stretchers to the ends of the aprons using wood screws and wood glue. Pre-drill holes to prevent splitting! This creates a strong, rectangular frame. For a four-leg design, attach the legs to the inside corners of this frame. Use a level on the frame as you go. For a trestle, build two identical A-frames.
Step 3: Attach the Top
This is the moment of truth. Place your desktop upside down on a soft surface (moving blankets). Position your completed base frame on top, centered. You can secure the top in two ways: From underneath (cleanest look), screw through the aprons/stretchers into the desktop. Or, from above, use figure-8 fasteners or L-brackets that allow for wood movement. Wood expands and contracts! Do NOT glue the top solidly to the frame; this causes warping.
Phase 5: The Magic – Sanding, Finishing, and Flair
A rough build looks like a rough build. Finishing transforms it into furniture.
The Gritty Details of Sanding
Start with 80-grit to remove saw marks and level any glue spots. Move to 120-grit for smoothness. Finish with 220-grit for a silky surface. Always sand with the grain of the wood. Wipe away all dust with a tack cloth or a damp microfiber cloth. This step is tedious but makes all the difference between “I built that” and “I bought that.”
Choosing Your Finish
For a Natural Look: Use a penetrating oil like tung or Danish oil. It enhances grain, is easy to apply (wipe on, wipe off), and is forgiving. Reapply annually.
For Paint: Prime first (especially on MDF or raw wood). Use a brush for edges, a foam roller for flats. Two thin coats of latex paint look great.
For Stain: Apply with a cloth, wipe off excess after 5-15 minutes. Seal with a clear polyurethane (water-based for less yellowing) in a satin or semi-gloss sheen for durability.
Pro Tip: Test your finish on a scrap piece first! Color can vary dramatically.
Phase 6: Beyond the Build – Ergonomics, Lighting, and Final touches
The desk is built, but your work isn’t done. How you set it up determines its daily usability.
Ergonomics is Non-Negotiable
Sit in your chair. Your feet should flat on the floor, knees at 90 degrees, elbows at 90-100 degrees with wrists straight. If your desk is too high, your shoulders hunch. Too low, you slouch. An adjustable chair is key. If the desk height is off, consider a footrest or a platform to raise your chair. A keyboard tray is a great addition if your desktop is deep.
Lighting: The Invisible Productivity Booster
Harsh overhead light causes glare. The best setup is layered: a general room light + a focused task light on the desk. This is where smart technology shines. A smart bulb in your desk lamp lets you adjust color temperature (cool for focus, warm for relaxation) and brightness without leaving your chair. Look for bulbs that work with your existing ecosystem; many smart bulbs work with Google Home or Alexa for voice control.
Cable Management – The Unsung Hero
A snake of cables kills a clean aesthetic. Drill a 2-3 inch hole in the desktop near the back. Install a grommet (plastic or metal ring) to protect the cord. Use adhesive cable clips on the underside of the desk to route cords to a single power strip under the desk. Consider a desk with a built-in power outlet or a USB hub for ultimate convenience.
Phase 7: Care and Maintenance for a Long-Lasting Desk
You’ve built it. Now keep it beautiful for years with simple care.
Daily, clear off papers and dust with a dry or slightly damp microfiber cloth. Avoid harsh chemical cleaners on finished wood. For spills, wipe immediately. Every few months, give it a more thorough clean. For wood finishes, a specific furniture polish or a solution of mild soap and water (well-wrung cloth) is safe. Always test in an inconspicuous spot.
Check for loose screws or joints monthly, especially in the first few months as wood settles. Tighten gently. If you use a clear coat, it may need a refresh every 2-3 years; lightly sand with 320-grit and reapply a thin coat. Protect from direct sunlight to prevent fading. Use coasters for drinks. A well-cared-for DIY desk can last decades, becoming a cherished part of your home.
Frequently Asked Questions
Do I need advanced woodworking skills to build a study desk?
No. Basic skills like measuring, cutting straight lines, and driving screws are sufficient for a simple design. Start with a plan and take your time. Clamps and a square are your best friends for accuracy.
How much does it cost to make a desk versus buying one?
It varies widely. A basic plywood desk with 2×4 legs can cost $50-$100 in materials. A solid wood desk might run $200-$400. This is often half to a third of the cost of a comparable store-bought solid wood desk, giving you premium materials at a fraction of the price.
What’s the easiest material for a beginner to work with?
Pre-cut butcher block countertop from a home center is the easiest—no cutting required! Just attach legs. Otherwise, good-quality plywood is very stable, cuts cleanly with a circular saw, and has a decent face that needs minimal sanding before finishing.
How long will the project take a first-timer?
From planning to final wipe-down, budget a full weekend (8-16 hours). Cutting and assembly might take 4-6 hours. Finishing (sanding, staining/painting, drying time between coats) is what eats up the most time, often requiring sessions over 2-3 days.
Can I make a sturdy desk without a table saw?
Absolutely. A circular saw with a straight-edge guide, a miter saw for angles, or even careful handsaw work are all viable. Many home centers will cut plywood to your exact dimensions for a small fee, which is a great option.
What’s the biggest mistake to avoid when building a desk?
Not accounting for wood movement. Never glue the tabletop solidly to the base frame. Use figure-8 fasteners, slotted holes, or secure only at the ends to allow the wood to expand and contract with humidity changes without cracking or warping.