Monitor Stand Arm for Desk
A monitor stand arm for your desk is a transformative ergonomic tool that lifts your screen off the workspace, freeing valuable real estate while promoting healthy posture through precise height, tilt, and rotation adjustments. It’s the key to a cleaner, more flexible, and healthier work environment, compatible with most modern monitors and desks.
Have you ever looked at your desk and felt like the monitor was just… taking up too much room? Or maybe you’ve finished a long day at your computer with a stiff neck and a headache, wondering why your shoulders are up by your ears. The culprit is often a static, ill-positioned monitor sitting on a bulky stand that eats desk space. Enter the humble hero of the modern workspace: the monitor stand arm for desk. This isn’t just another piece of office furniture; it’s a fundamental ergonomic upgrade that can transform how you work, feel, and organize your daily command center.
Think of it as giving your monitor a flexible, strong neck of its own. Instead of being glued to one spot, it can float effortlessly in front of you, moving up, down, forward, back, and even swiveling with a gentle touch. The benefits ripple out from there—a tidier desk, better posture, less eye strain, and a surprising sense of control over your environment. Whether you’re a remote worker, a gamer, a student, or a creative professional, understanding this tool is key to unlocking a more comfortable and productive setup. Let’s dive deep into everything you need to know about choosing, installing, and maximizing a monitor stand arm for your desk.
Key Takeaways
- Ergonomic Health Boost: A monitor stand arm allows you to position your screen at the perfect eye level and distance, drastically reducing neck, shoulder, and back strain associated with prolonged desk work.
- Instant Space Saver: By mounting your monitor off the desk surface, you reclaim significant area for keyboards, documents, lamps, or simply a cleaner, less cluttered aesthetic.
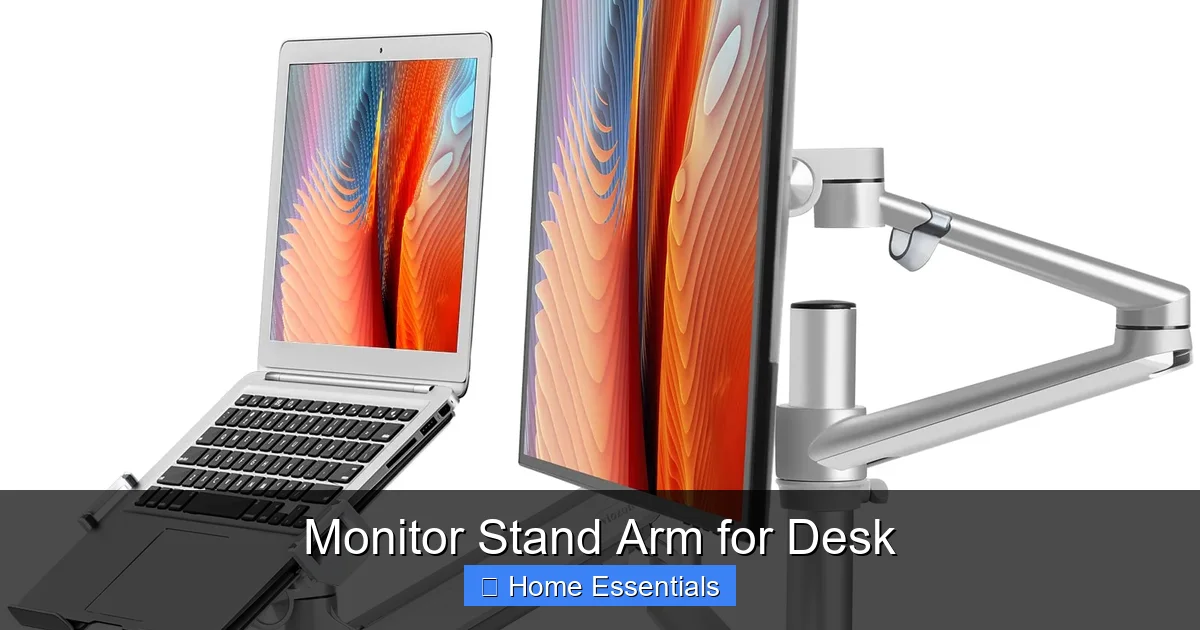
- Universal Compatibility: Most arms support standard VESA mount patterns and a wide weight range, but always verify your monitor’s specifications and your desk’s mounting style (clamp vs. grommet).
- Tool-Free Installation: The majority of modern monitor stand arms feature simple clamp-on or grommet-through designs requiring minimal tools, often just an Allen wrench, for a quick setup.
- Cable Management Integration: Quality arms include built-in cable guides or channels, helping you route power and video cables neatly from the monitor down to your desk, eliminating unsightly tangles.
- Durability & Stability: A well-built arm uses robust materials like steel or aluminum and a strong counterbalance spring or gas spring to hold heavy monitors securely without sagging over time.
- Multi-Monitor Potential: Many arms are designed to support dual or even triple monitor setups, creating a seamless panoramic workstation for traders, designers, and programmers.
📑 Table of Contents
- What Exactly Is a Monitor Stand Arm for Desk?
- The Undeniable Ergonomic and Health Benefits
- How to Choose the Right Monitor Stand Arm for Your Desk
- Installation: A Simple Process, Done Right
- Cable Management and Desk Organization: The Hidden Perks
- Long-Term Care and Maintenance for Your Investment
- Conclusion: Your Posture, Your Space, Your Choice
What Exactly Is a Monitor Stand Arm for Desk?
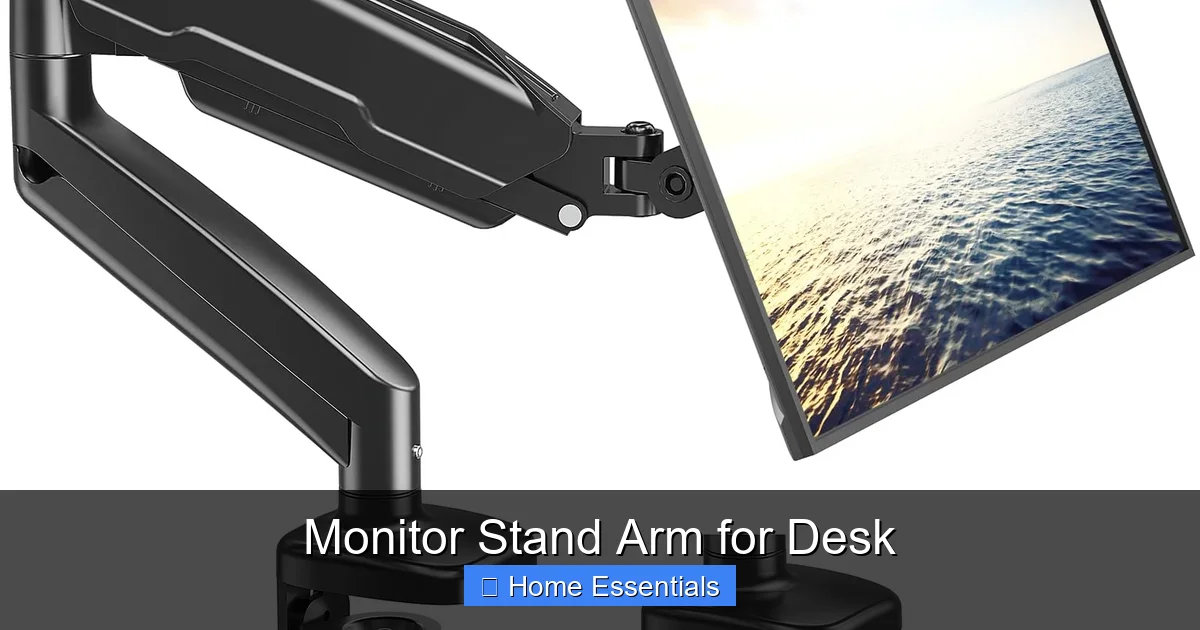
At its core, a monitor stand arm (also called a monitor mount, monitor riser arm, or articulating monitor arm) is a mechanical arm that attaches to your desk and provides a secure, adjustable mount for your computer monitor. It replaces the factory stand that came with your monitor, which is often fixed in height and angle and occupies a large footprint on your desk surface.
The Basic Anatomy of an Arm
A typical monitor stand arm consists of a few key components working together. The desk clamp or grommet mount is the base that attaches to your desk—either by clamping to the edge or by fitting through a hole (grommet). The arm itself is the articulated section, often with several pivot points. This connects to the monitor bracket or VESA plate, which is the piece that screws directly into the back of your monitor. Finally, the adjustment mechanism—this can be a simple friction-based system, a gas spring (like in office chairs), or a counterbalanced spring—is what allows you to move the monitor with one hand and have it stay put exactly where you leave it.
Clamp vs. Grommet: Which Mount is Right For You?
This is your first big decision. A clamp-style arm attaches to the side or back edge of your desk. It’s incredibly versatile, works on most desk thicknesses (typically 0.5″ to 3.5″), and doesn’t require any holes. The downside is it can sometimes limit how close the monitor can sit to the back edge of the desk. A grommet mount requires a hole in your desk (usually 1″ to 3″ in diameter) and bolts through it, providing a more permanent, stable, and often lower-profile installation. If your desk has a pre-existing hole (like many standing desk frames), this is often the sleekest option. For most people without a hole, a high-quality clamp is the perfect, non-permanent solution.
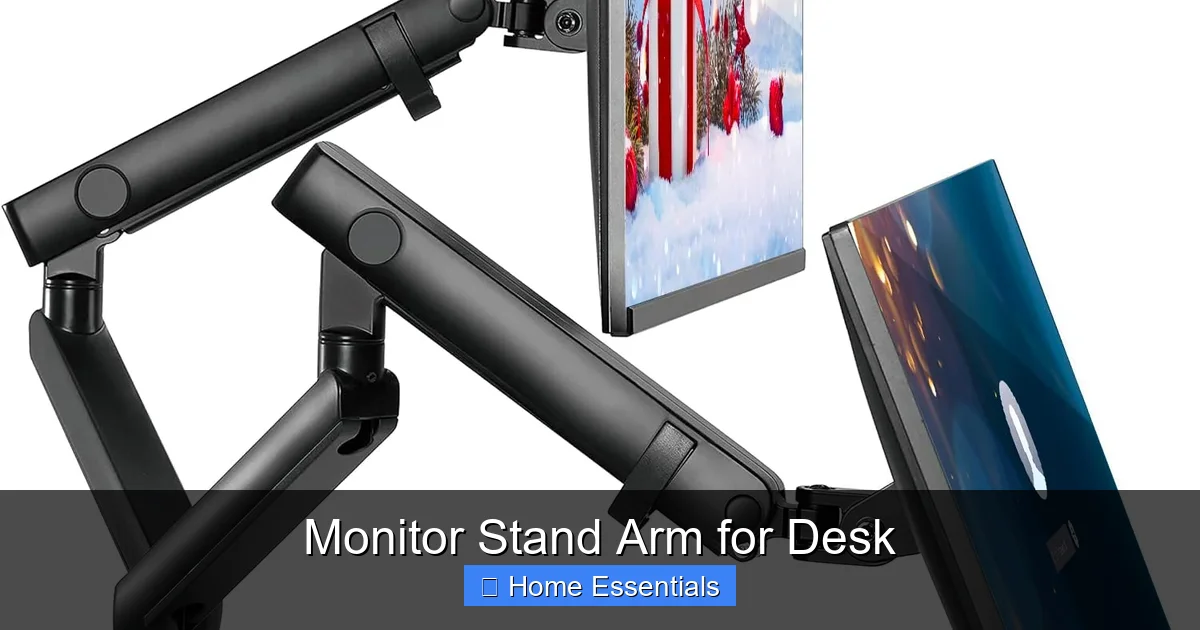
The Undeniable Ergonomic and Health Benefits
This is the “why” that matters most. A proper monitor stand arm is a direct investment in your physical well-being during long work hours. The human body is not designed to stare down or up at a screen for eight hours a day.
Visual guide about Monitor Stand Arm for Desk
Image source: m.media-amazon.com
Finding Your Perfect “Neutral” Position
Ergonomics 101 states that your eyes should look slightly downward at the center of your screen, about 15-20 degrees below horizontal. Your monitor should be an arm’s length away. The top of the screen should be at or just below eye level. A fixed stand rarely allows for this. With an arm, you can precisely height-adjust the screen so the top is at eye level, eliminating the need to tilt your head down. You can then tilt the screen back slightly (10-20 degrees) to maintain that neutral neck position. This simple alignment prevents the “text neck” and chronic shoulder tension that plague desk workers.
Reducing Eye Strain with Dynamic Positioning
Ever get that gritty, tired feeling in your eyes? That’s often from focusing at a single distance for too long. The ability to easily pull the monitor closer when reading fine text or push it back when brainstorming gives your eye muscles a natural break. Furthermore, the pivot (rotation) function allows you to switch between landscape and portrait mode—a game-changer for coders viewing long lines of code or writers editing tall documents. This dynamic capability keeps your visual system engaged and less fatigued.
Consider the cascading effect: less neck pain means less hunching. Less hunching means better spinal alignment and improved breathing. Better posture leads to more energy and focus. It starts with the simple act of aligning your monitor. For those setting up an entire healthy workspace, pairing your new arm with an ergonomic chair and a standing desk converter for periodic movement can create a holistic defense against sedentary strain.
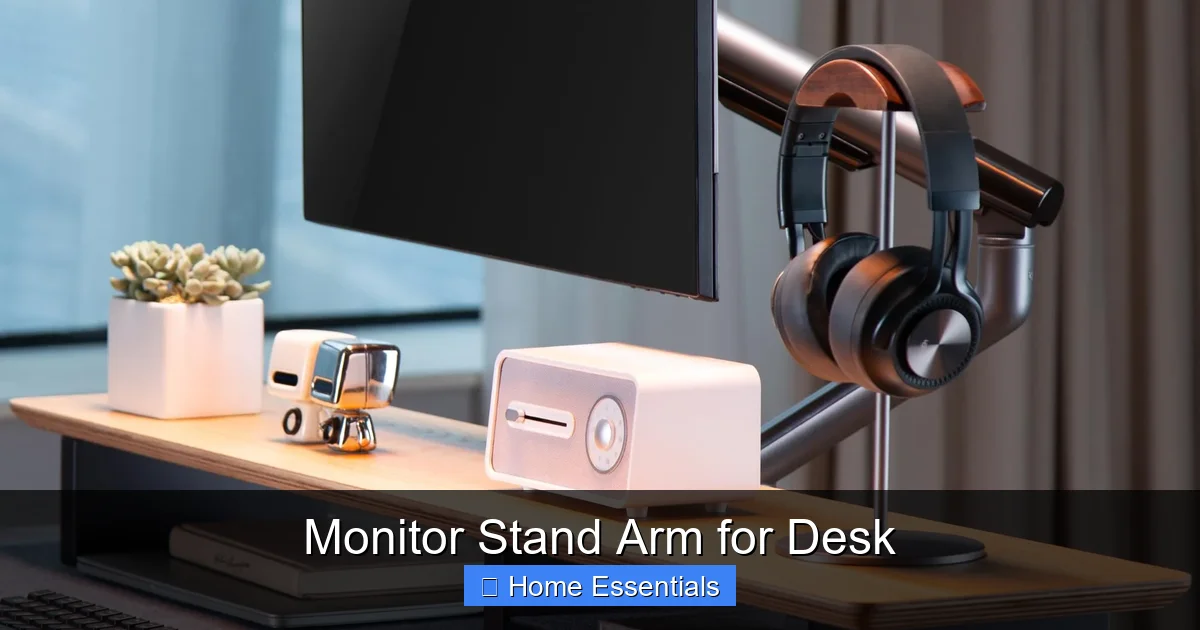
How to Choose the Right Monitor Stand Arm for Your Desk
Not all arms are created equal. Choosing the wrong one leads to frustration, instability, or even a damaged monitor. Here’s your non-negotiable checklist.
Visual guide about Monitor Stand Arm for Desk
Image source: images-na.ssl-images-amazon.com
1. Weight Capacity vs. Your Monitor’s Weight
This is the most critical spec. Every arm lists a maximum weight capacity (e.g., 8 lbs, 20 lbs, 35 lbs). You must find the actual weight of your monitor—this is usually on a sticker on the back or in the manual. Add a little margin; don’t max out the arm’s capacity. A monitor that’s too heavy will cause the arm to sag, no matter how good the spring is. If you have a large, curved, or ultra-wide monitor, expect it to be heavier and require a heavy-duty arm.
2. VESA Mount Compatibility: The Universal Pattern
VESA (Video Electronics Standards Association) is the standard hole pattern on the back of monitors. Common sizes are 75×75 mm and 100×100 mm (square patterns), and for larger monitors, 200×100 mm (rectangular). Measure the distance between the holes on your monitor’s back. Your arm’s bracket must support that pattern. Most modern arms are adjustable to fit both 75 and 100 mm patterns, but always confirm. If your monitor uses a proprietary, non-VESA mount (common on some very old or very cheap models), you’ll need a special adapter plate, which adds complexity.
3. Desk Compatibility: Thickness and Material
Check the arm’s specifications for supported desk thickness. For clamps, this is usually a range (e.g., 0.4″ to 3.15″). Measure your desk’s overhang (the edge area where the clamp will grip). If you have a very thick desk, a grommet mount is your only option. Also, consider the desk material. A clamp on a thin, cheap particleboard desk edge can potentially crack or crush it over time. Solid wood, thick MDF, or metal desks are ideal. If you’re concerned, a protective pad or sleeve (often included) between the clamp and desk can distribute pressure.
4. Range of Motion: Does It Fit Your Workflow?
Look at the specifications for:
- Height Adjustment: How many inches can it raise and lower from the desk surface?
- Reach (Extension): How far from the desk pole can the monitor be positioned?
- Tilt: Usually +/- 15 to 30 degrees.
- Pivot (Rotation): Typically 90 degrees for portrait mode.
- Pan (Side-to-Side Swivel): Important if sharing the screen with someone sitting next to you.
Test these motions in your mind. Do you need to pull the screen close for detailed CAD work? Do you want to swing it aside to clear the desk? Your specific tasks dictate the ideal range.
5. Build Quality and Adjustment Feel
This is harder to judge online, but reviews are gold. A good arm feels solid, not flimsy. The adjustment should be smooth and require reasonable force—not so loose that the monitor drifts, and not so tight you can’t move it. A gas spring arm offers the smoothest, one-handed adjustment but can be more expensive and may require occasional maintenance. A mechanical spring or friction arm is often more affordable and very reliable if well-designed. Read reviews specifically about “sagging” over time.
Installation: A Simple Process, Done Right
Don’t be intimidated. For 95% of users, installing a monitor stand arm for desk is a 15-minute, one-person job. But a few steps make all the difference.
Visual guide about Monitor Stand Arm for Desk
Image source: m.media-amazon.com
Tools You’ll (Probably) Need
Most arms come with the necessary Allen keys (hex wrenches) and sometimes a small screwdriver. You might need a Phillips head screwdriver if you’re removing your monitor’s original stand. A level is a helpful, non-essential tool for getting the arm pole perfectly vertical before tightening the clamp.
Step-by-Step Guide to a Secure Mount
Step 1: Attach the Arm to the Desk. For a clamp, open it wide, position it on the back or side edge of your desk (ensure it’s on solid surface, not a thin veneer), and tighten the main clamp bolt until it’s very secure. Give it a firm tug—it should not move. For a grommet, you’ll need to drill or punch a hole of the specified size in your desk, then feed the mounting bolt through and secure it with washers and nuts underneath.
Step 2: Set the Initial Height and Tension. Before attaching the monitor, loosely attach the VESA plate to the arm’s bracket. Now, hold the pole and arm and adjust the main height tension (often a large knob or bolt on the pole or arm joint). Set it so the arm holds its position but can be moved with moderate effort. This is your baseline. You can fine-tune later.
Step 3: Attach Your Monitor. Carefully lift your monitor and align the VESA holes on the back with the bracket. Insert and hand-tighten the four provided screws (usually M4 or M5). Do not overtighten. Snug is sufficient; you’re not bolting a car engine. Overtightening can crack the monitor’s plastic housing.
Step 4: The Final Adjustment. Now, the fun part. Gently move the arm through its full range of motion. Does it hold at every angle? If it sags at the far end of its reach, you may need to increase the tension on the height or tilt adjustment knobs. Find the sweet spot where it’s stable but movable. Position the monitor at your ideal ergonomic height and angle. Take a moment to appreciate your newly freed desk space!
Once everything is set, use the cable management features. Most arms have a clip or channel on the arm itself. Run your video and power cables through this, then down the back of the pole and under your desk to your computer and outlet. This single step makes your setup look professional and eliminates a major tripping hazard. A clean cable run is as satisfying as the perfect monitor height.
Cable Management and Desk Organization: The Hidden Perks
The space-saving benefit of a monitor stand arm for desk is immediate and dramatic. That bulky factory stand, which might have been 6-8 inches deep, is gone. That’s a full foot of prime desktop real estate you’ve just reclaimed. But the benefits go deeper than just having more room for a keyboard.
Creating a Clean, Focused Workspace
Clutter is cognitively taxing. A clear desk promotes a clear mind. With the monitor floating, you can now place items directly in front of you without them being blocked by a stand. A notepad, a tablet for reference, a desk lamp with proper positioning—all become feasible. This organization naturally supports better workflow. You’re not constantly maneuvering around obstacles. The arm itself becomes a central, clean pillar from which your workspace flows.
Integrating with Other Desk Essentials
Think of the arm as the anchor. Now you can strategically place other items. A document holder can be positioned directly beside the screen at the same height for easy typing reference. A desk lamp can be clamped to the desk edge behind the monitor pole, providing light without competing for space. Even a small plant or decorative item can find a home on the now-empty desk surface where the stand once was. This holistic approach to desk layout is what separates a functional setup from a great one.
For those who love a pristine setup, consider the final touch: regular dusting. Electronics gather dust quickly. Use a soft, lint-free microfiber duster designed for electronics to gently wipe down the monitor screen, the arm joints, and the desk surface. It’s a quick habit that maintains that “just-set-up” look and prevents dust from settling into mechanical joints over time.
Long-Term Care and Maintenance for Your Investment
A good monitor stand arm for desk should last for years, but it’s not entirely set-and-forget. A little periodic care ensures smooth operation and longevity.
Routine Cleaning and Inspection
As mentioned, dust is the enemy. Use your microfiber cloth regularly. Every few months, do a closer inspection. Check all the visible screws and bolts—the ones on the desk clamp, the arm joints, and the VESA bracket. Give them a gentle tighten if they feel loose. Don’t crank them, but snug them up. Look for any signs of stress or cracking in the plastic components, especially on the clamp.
Maintaining Smooth Movement
If your arm starts to feel stiff in one direction or slightly sticky, it’s likely just dust or minor grime in the pivot points. With the monitor removed (for safety and ease), you can use a cotton swab lightly dampened with isopropyl alcohol (rubbing alcohol) to clean around the joint areas. Let it dry completely before re-mounting. Never spray liquid directly onto the arm. For gas spring arms, they are generally maintenance-free, but extreme temperatures can affect their performance. Keep your workspace at a stable room temperature.
When to Upgrade Your Arm
Monitor technology evolves. You might upgrade to a heavier, larger screen that exceeds your old arm’s capacity. Or your needs might change—you might want a dual-monitor setup, requiring a different arm model. The great thing about a standalone arm is that it’s portable. You can take it to your next desk. But if your current arm can’t safely handle your new gear or lacks a key feature (like portrait mode), it’s a straightforward upgrade. Dispose of the old arm responsibly; the metal components are often recyclable.
Conclusion: Your Posture, Your Space, Your Choice
The journey to finding the perfect monitor stand arm for desk starts with understanding your own needs—your monitor’s specs, your desk’s constraints, and your daily workflow. It’s not the flashiest purchase, but its impact is profound. It’s the difference between a cluttered, uncomfortable corner and a streamlined, health-conscious command center. The investment is relatively small, especially when compared to the cost of chronic pain or lost productivity.
Take the measurements, check your monitor’s weight and VESA pattern, and choose a reputable brand with solid reviews. The installation is a satisfying DIY project that pays off instantly. Once in place, you’ll wonder how you ever worked without the freedom to position your screen exactly where it needs to be. You’ll gain space, you’ll gain comfort, and you’ll gain a tangible tool that actively supports your well-being every single workday. It’s a simple upgrade with a complex set of benefits, all anchored to a single, smart decision to take control of your workspace.
Frequently Asked Questions
Will a monitor arm fit my desk if it has a very thick or very thin edge?
Most clamp-style arms accommodate a wide range, typically from about 0.4 inches (10mm) for thin tabletops up to 3.5 inches (90mm) for thick, solid desks. If your desk is outside this range, a grommet mount (requiring a hole) is likely your only option. Always check the manufacturer’s specifications for supported desk thickness before purchasing.
Can I install a monitor arm by myself, or do I need help?
Absolutely, you can install it yourself. The process is designed for one person. You’ll need to lift your monitor (so ensure you can safely manage its weight) and tighten a few bolts with the included Allen keys. Having a second person to help hold the monitor while you align the screws can be useful for larger, heavier monitors, but it’s not strictly necessary.
My monitor has a curved screen. Is a standard arm still suitable?
Yes, but with a caveat. Curved monitors are often wider and heavier. You must pay extra attention to the arm’s weight capacity and reach. Ensure the arm is rated for your monitor’s weight and can extend far enough to position the curved screen at the optimal viewing distance without the arm straining or sagging at the edges.
What is VESA, and why does it matter?
VESA is the standard mounting hole pattern on the back of monitors (measured in millimeters, e.g., 100×100). It matters because your monitor arm’s bracket must be compatible with your monitor’s VESA pattern to attach securely. Almost all modern monitors use VESA mounts, but you should always measure the distance between the mounting holes on your specific monitor to confirm compatibility with your chosen arm.
Will using a monitor arm damage my desk or monitor?
Not if installed correctly. A properly tightened clamp distributes pressure across a surface area, and many include protective pads to prevent marring. For grommet mounts, the hardware goes through a hole, so there’s no edge pressure. Regarding your monitor, as long as you use the correct VESA screws and don’t overtighten them, the mounting points are designed to handle the stress. Never force an incompatible monitor.
How do I deal with all the cables now that my monitor is floating?
This is a key feature of good arms! Look for an arm that includes a cable management system. This is usually a clip or channel that runs along the arm and down the pole. You simply bundle your video and power cables together, feed them through this channel, and then route them down the back of the pole to your desk. You can then use adhesive cable clips under your desk to secure the cables for a completely clean look.