How to Set Up a Study Desk
Setting up a study desk correctly is about more than just placing a laptop on a surface. It’s a deliberate process of combining ergonomic science, personal organization, and environmental optimization to create a space that actively supports deep work and well-being. This guide walks you through every step, from chair height to cable management, ensuring your desk fuels your success instead of hindering it.
Let’s be honest: your study desk is either your greatest ally or your quietest enemy. It’s the stage where focus is either captured or scattered, where productivity is built or broken. A poorly set up desk leads to a sore back, a distracted mind, and a frustrating search for a pen that’s buried under a pile of papers. But a thoughtfully arranged desk? That becomes a launchpad. It’s a command center that signals to your brain, “It’s time to work,” and supports your body so you can go longer, think clearer, and achieve more. Setting up a study desk isn’t about interior design; it’s about ergonomics, psychology, and practical efficiency. This guide will take you from a cluttered surface to a optimized workspace, step by step.
Key Takeaways
- Ergonomics is non-negotiable: Your chair height, desk depth, and monitor position must align to prevent physical strain and maintain energy throughout long study sessions.
- Declutter before you organize: A truly functional desk starts empty. Remove everything, clean the surface thoroughly—a damp microfiber cloth is perfect for this—then only return essential items.
- Lighting is a performance tool: Combine a strong, adjustable task light with ambient light to eliminate glare and eye fatigue, considering smart bulbs for customizable color temperature.
- Zone your surface: Divide your desk into distinct areas for active work, reference materials, and supplies to create a mental map that reduces decision fatigue.
- Cable management is mental hygiene: Tangled cords create visual noise and stress. Use clips, sleeves, or a desk grommet to contain them from the start.
- Personalize for motivation, not distraction: Include 1-2 meaningful items like a plant or photo, but keep the core workspace neutral and dedicated solely to the task at hand.
- Test and adjust: Your perfect setup is personal. Sit down, work for an hour, and note any discomfort. Tweak height, distance, and arrangement until it feels invisible.
📑 Table of Contents
Step 1: The Foundation – Chair & Desk Ergonomics
Before you place a single item, you must get the furniture right. An ergonomic setup is the bedrock of a sustainable study habit. If your body is uncomfortable, your mind will be too. The goal is a neutral posture: your spine in its natural ‘S’ curve, joints at 90-degree angles, and eyes level with your work.
Perfecting Your Chair
Your chair is the most critical piece. Adjust it first. Sit all the way back. Your feet should rest flat on the floor (or on a footrest). If they dangle, you’re putting pressure on your thighs and reducing circulation. Your knees should be at a 90-degree angle, slightly lower than your hips. The lumbar support should fit into the small of your back. If your chair lacks this, a small, rolled-up towel can work in a pinch. The armrests, if present, should allow your shoulders to relax with your elbows bent at 90 degrees, not forcing your shoulders up.
Desk Height & Depth
Standard desk height is around 29-30 inches, but this is a starting point. With your chair properly adjusted, your forearms should be parallel to the floor when your hands are on the keyboard/mouse. If your shoulders are hunched, your desk is too high. If you’re reaching up, it’s too low. An adjustable sit-stand desk is the gold standard, allowing you to alternate between sitting and standing throughout the day to combat sedentary risks. Regarding depth, you need enough room for your monitor to be at least an arm’s length away (about 20 inches) while still having space in front of you for writing or a keyboard tray.
The Golden Triangle: Monitor, Keyboard, Mouse
Imagine a triangle formed by your eyes, keyboard, and mouse. The top of your monitor should be at or slightly below eye level. You should look slightly down at your screen, not up or far down. This prevents neck strain. The monitor should be directly in front of you, centered. Your keyboard and mouse should be at the same height, close enough that your elbows stay by your sides. A keyboard tray can help achieve this if your desk is too high. Laptop users: a separate keyboard and a laptop stand are essential to achieve this posture. Never work directly on a laptop screen for extended periods.
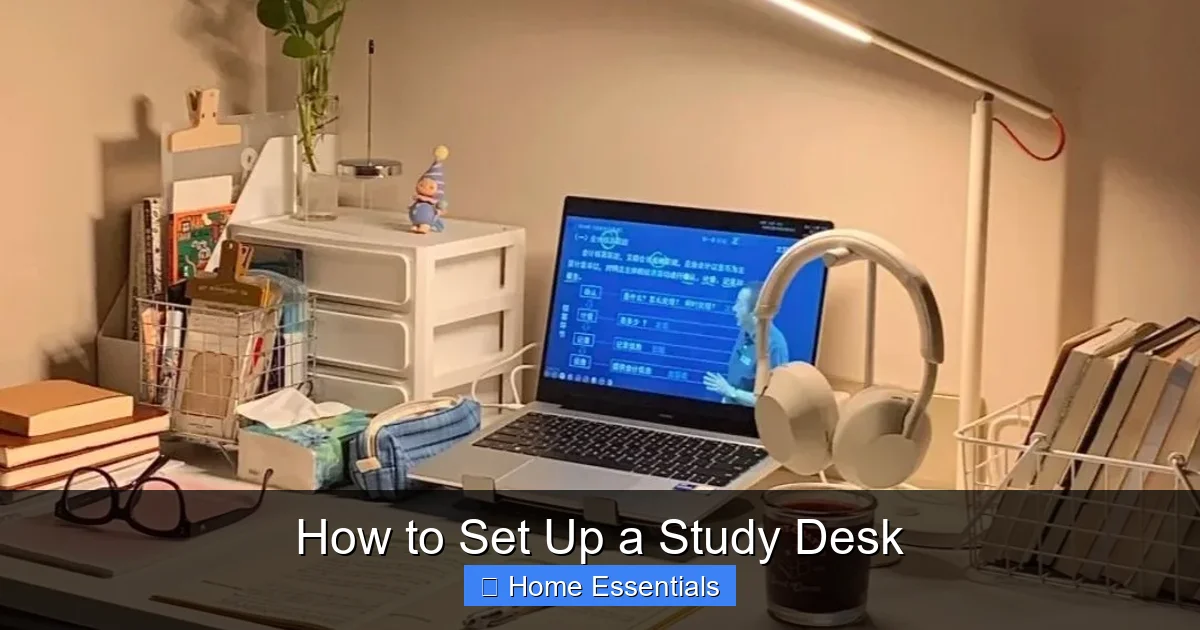
Step 2: The Canvas – Lighting & Ambiance
Harsh overhead lighting or a dark corner creates eye strain and headaches, silently draining your focus. Good lighting is a performance enhancer. The ideal setup layers two types of light.
Visual guide about How to Set Up a Study Desk
Image source: i.pinimg.com
Task Lighting: Your Spotlight
This is a dedicated, adjustable lamp on your desk. Its sole job is to illuminate your work surface without causing glare on your screen or casting shadows. Look for a lamp with a flexible arm and a shade that directs light downward. Place it on the opposite side of your writing hand (if you’re right-handed, put it on the left) to avoid your hand casting a shadow. The light should be bright enough to read by comfortably but not so intense that it creates hot spots on the page.
Ambient Lighting: The Background Glow
This is the general room light. It should be soft and diffused, filling the space to prevent a dramatic contrast between your bright desk and dark room, which tires your eyes. A ceiling fixture with a dimmer, a floor lamp in the corner, or even smart bulbs in a bedside lamp can work. Here’s a pro tip: if you study late into the evening, use bulbs with a warmer color temperature (2700K-3000K). For daytime or intense focus sessions, cooler, blue-enriched light (4000K-5000K) can help boost alertness. With smart bulbs, you can adjust this with an app or voice command.
The Glare Hazard
Position your monitor perpendicular to windows. Never have a window directly behind you (causing screen glare) or in front of you (washing out the screen with bright light). Use blinds or curtains to manage natural light. A matte screen protector can also help if you can’t avoid a light source.
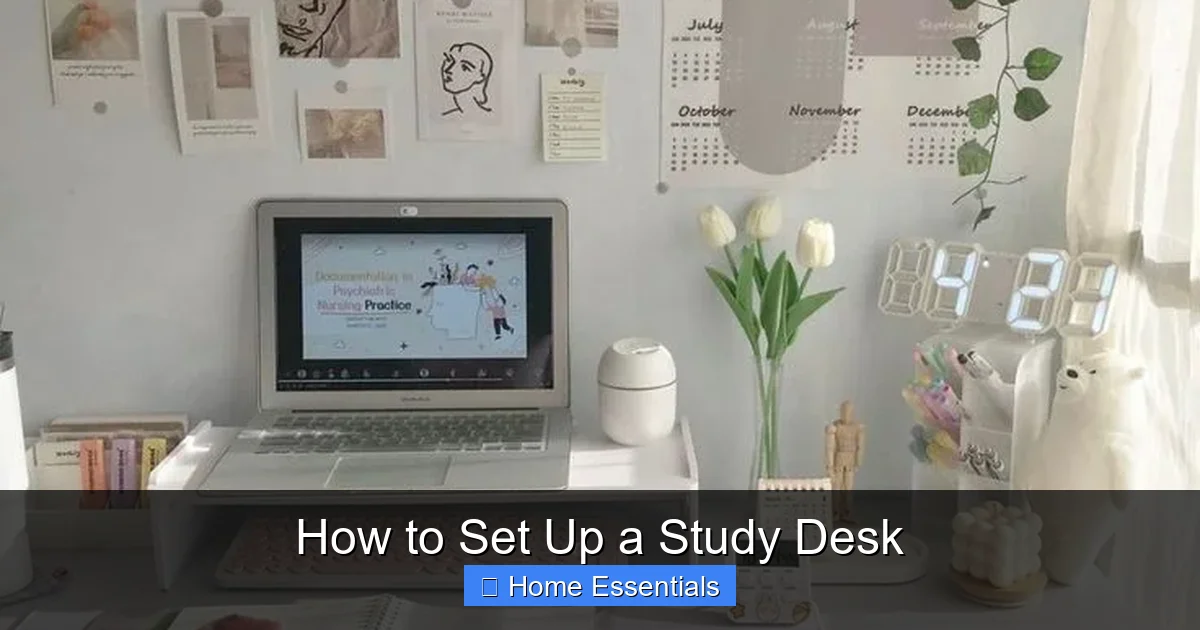
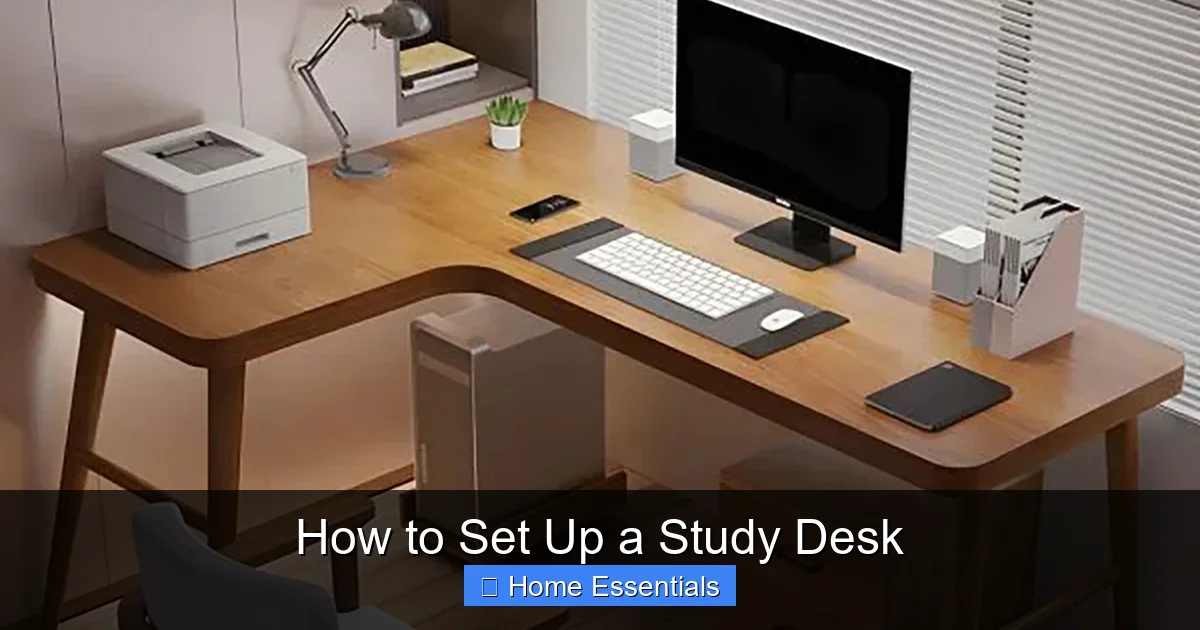
Step 3: The Blueprint – Organization & Zoning
Now we build the system. A cluttered desk is a cluttered mind. The solution isn’t just “tidy up”; it’s to design intentional zones that create a frictionless workflow.
Visual guide about How to Set Up a Study Desk
Image source: cdn.shopify.com
Zone 1: The Active Work Surface
This is the prime real estate directly in front of you, within easy reach. It should contain only the tools you are using *right now*. For most students, this means a laptop/notebook, a pen, and maybe a highlighter. Nothing else. The rule is: if it’s not in active use for the current task, it does not belong here. This zone is for doing.
Zone 2: The Reference & Supply Zone
This is typically the area to your non-dominant side (left side for right-handers). Here, place items you need to consult frequently but aren’t using actively: a textbook, a planner, a dictionary, a water bottle. Use a simple organizer or a small stack of books to keep these upright and accessible. This zone keeps your active surface clear while putting references at a glance.
Zone 3: The Deep Storage Zone
This is the farthest reaches of your desk or, better yet, a drawer. Here live supplies you use less frequently: extra pens, sticky notes, paperclips, a stapler, USB drives. Use drawer organizers or small containers to prevent this zone from becoming a junk drawer. The principle is: out of sight, but not out of mind. You know it’s there when you need it.
The “In-Tray” & “Out-Tray” System
On one side of your active zone, have a small tray for incoming tasks—new worksheets, printed articles, notes to yourself. On the other side, have a tray for completed work that needs to be filed, handed in, or acted upon later. This physical sorting prevents papers from accumulating in a haphazard pile and gives you a clear visual cue of what’s pending.
Step 4: The Nervous System – Cable & Tech Management
Tangled cords are more than an eyesore; they’re a source of subconscious stress and a genuine safety hazard. Managing them is a form of digital hygiene.
Visual guide about How to Set Up a Study Desk
Image source: i.pinimg.com
The Audit
Unplug everything. Identify every cable: laptop charger, phone charger, lamp, monitor, speaker, etc. Coil and label any you don’t use daily with a piece of masking tape.
The Containment Strategy
You have three main tools:
- Cable Clips & Ties: Use adhesive-backed clips on the underside of your desk or along the back edge to route cables vertically down to the floor. Velcro ties are reusable and gentler on cables than zip ties.
- Cable Sleeves: A fabric or braided sleeve can gather 3-5 cables into one neat tube, running from your desk down to the power strip.
- Desk Grommets: If your desk has a hole (or you can install one), feed all cables through it to the floor below. This is the cleanest look.
Use a single, high-quality power strip with enough outlets and surge protection, and place it on the floor under your desk or attached to the leg. Never have a “power octopus” of multiple strips.
Wireless Where Possible
Consider a wireless keyboard and mouse to eliminate two major cables. A wireless charger for your phone can also reduce clutter. For smart lighting or speakers, wireless connectivity is, of course, the whole point.
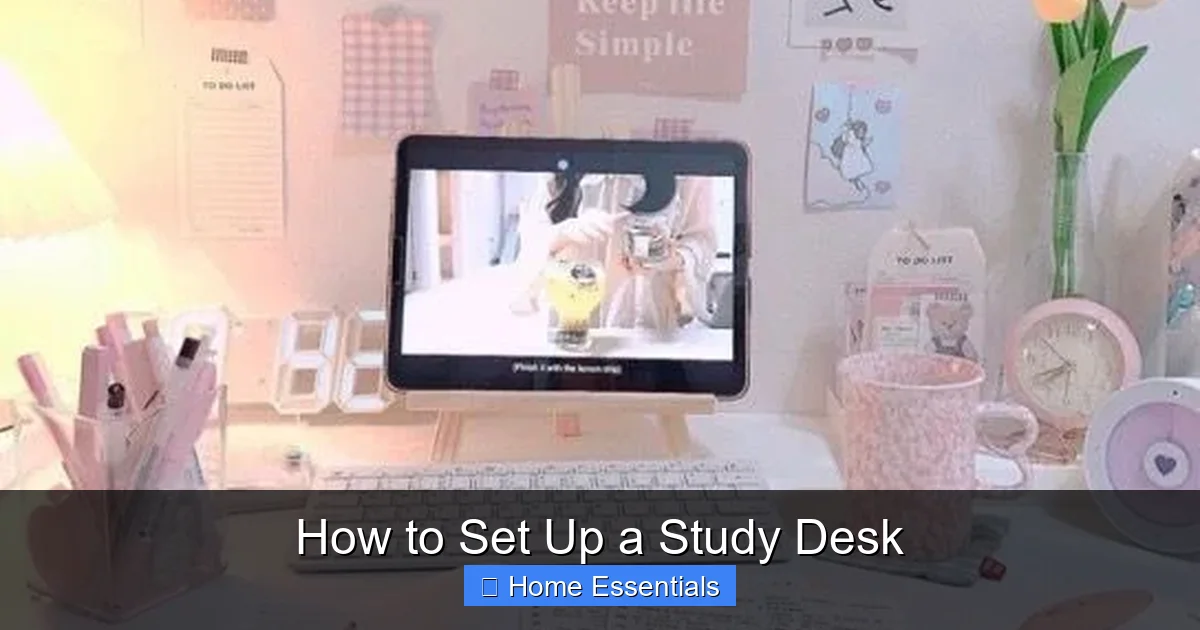
Step 5: The Finishing Touches – Personalization & Maintenance
Your desk is now functional, ergonomic, and clean. Now, we add the human elements that make it a place you *want* to be, without sabotaging its efficiency.
Plants & Air Quality
A small, low-maintenance plant like a snake plant, pothos, or ZZ plant adds life, improves air quality, and provides a natural break for your eyes. Place it in Zone 2 or 3. Ensure it has some light, but not so much it competes with your screen.
The Single Source of Inspiration
One motivational quote, one photo of a loved one, or one small piece of art is enough. Place it where your peripheral vision can catch it during moments of thought. More than this becomes visual noise and a distraction. The desk is for work; personal items should be meaningful but minimal.
Daily Reset Ritual
The setup is only good if you maintain it. At the end of each study session, spend 2 minutes doing a “reset”: clear the Active Work Zone (file papers from the Out-Tray, put books back in Zone 2), wipe down the surface with a clean microfiber cloth to remove dust and fingerprints, and arrange your essential tools for tomorrow. This ritual mentally closes the work session and makes starting the next one effortless.
Conclusion: Your Desk, Your Engine
A well-set-up study desk is not a luxury; it’s a tool for better thinking. It respects your body’s needs, commands your attention, and removes tiny friction points that, over hours, become massive drains on willpower and energy. You’ve learned to build it from the ground up: starting with the non-negotiable ergonomic foundation, layering in intelligent lighting, zoning the surface for mental clarity, taming the cable chaos, and finally, adding personal touches that inspire without distracting. Now, the most important step is to use it. Sit down, start working, and notice. Does your shoulder ache? Adjust the chair. Is the screen glare annoying? Move the lamp. Is your mind wandering to the pile of papers? Put them in the In-Tray. Your perfect desk is a living system, not a one-time project. Tweak it, respect it, and let it power your best work.
Frequently Asked Questions
How high should my study desk be?
Your desk height should allow your forearms to be parallel to the floor when your hands are on the keyboard, with your elbows at a 90-degree angle. The standard is 29-30 inches, but your chair height ultimately dictates the ideal desk height. An adjustable sit-stand desk offers the most flexibility.
Should I use a laptop stand?
Absolutely, if you’re using a laptop for more than an hour at a time. A laptop stand raises the screen to eye level, preventing the dreaded “laptop hunch.” You must then use a separate keyboard and mouse to maintain proper wrist and shoulder posture.
What’s the best way to organize papers on my desk?
Use a system, not a pile. Implement an “In-Tray” for incoming papers and an “Out-Tray” for completed ones that need filing or submission. Reference materials should live in a dedicated zone (like a book stand or a specific corner), not scattered across your active workspace.
How much desk space do I actually need?
You need enough for your primary work (laptop/notebook) plus 1-2 reference items (textbook, planner) and a small organizational tool (pen holder, tray). A minimum of 24 inches (60 cm) in depth and 48 inches (120 cm) in width is a good baseline for comfortable single-person use.
Is natural light or a lamp better for studying?
Both, in combination. Use natural light as your ambient base, but always supplement with a dedicated, adjustable task lamp on your desk. This ensures consistent, glare-free illumination on your work surface regardless of the time of day or weather, protecting your eyes from strain.
How do I keep my desk clean without constant effort?
Establish a 2-minute end-of-day reset ritual. Clear the active surface, file away papers, wipe down with a fresh microfiber cloth, and set up your essential tools for the next session. This small habit prevents clutter from ever accumulating and makes starting work the next day instantaneous.