How to Use a Toilet Brush
Using a toilet brush correctly ensures a clean, hygienic toilet and prevents the spread of germs. This guide walks you through the step-by-step process of using a toilet brush, from preparation to storage, so you can maintain a fresh and sanitary bathroom. With simple tips and best practices, you’ll keep your toilet sparkling and your family safe from bacteria.
Key Takeaways
- Proper Setup: Always use a toilet brush with a matching holder to prevent cross-contamination and keep the area tidy.
- Effective Cleaning: Scrub the bowl thoroughly, including under the rim and around the trapway, using a small amount of toilet cleaner.
- Safe Disposal: Rinse the brush immediately after use and dispose of any solid waste down the toilet—never in the sink or trash.
- Thorough Rinsing: After scrubbing, flush the toilet to rinse away residue and ensure no cleaner or debris remains.
- Clean Storage: Store the brush upright in its holder with the bristles facing up to allow air drying and prevent mold growth.
- Regular Maintenance: Clean the brush holder weekly and replace the brush every 3–6 months for optimal hygiene.
- Safety First: Always wash your hands with soap and water after handling the brush to avoid germ transfer.
📑 Table of Contents
- How to Use a Toilet Brush: A Complete Guide
- Why Proper Toilet Brush Use Matters
- What You’ll Need to Use a Toilet Brush
- Step-by-Step Guide: How to Use a Toilet Brush
- Best Practices for Toilet Brush Maintenance
- Common Mistakes to Avoid
- Eco-Friendly and Sustainable Toilet Brush Options
- When to Call a Professional
- Conclusion
How to Use a Toilet Brush: A Complete Guide
Let’s face it—no one enjoys talking about toilet brushes. But let’s also be honest: keeping your toilet clean isn’t just about aesthetics. A dirty toilet can harbor bacteria, cause unpleasant odors, and even spread illness. That’s why knowing how to use a toilet brush properly is one of the simplest yet most effective ways to maintain a clean and healthy bathroom. Whether you’re a first-time homeowner or just looking to improve your cleaning routine, this guide will walk you through every step—from setup to storage—so your toilet stays fresh, hygienic, and ready for use.
A toilet brush is more than just a cleaning tool; it’s your frontline defense against grime and germs. But using it the wrong way can actually make things worse. For example, leaving the brush sitting in a dirty holder or using too much cleaner can lead to residue buildup and even damage the bowl. On the other hand, using it correctly not only keeps your toilet sparkling clean but also helps prevent plumbing issues and unpleasant smells. In this article, we’ll break down the process into simple, easy-to-follow steps so you can master the art of toilet brushing—no experience required.
Why Proper Toilet Brush Use Matters
Using a toilet brush isn’t just about scrubbing away visible stains. It’s about maintaining overall hygiene and preventing the spread of harmful bacteria like E. coli and Salmonella. According to the CDC, toilets can harbor up to 200 times more bacteria than the average toilet seat. That’s why proper cleaning with a toilet brush is essential. But it’s not just about germs—it’s also about preventing buildup that can lead to clogs or persistent odors.
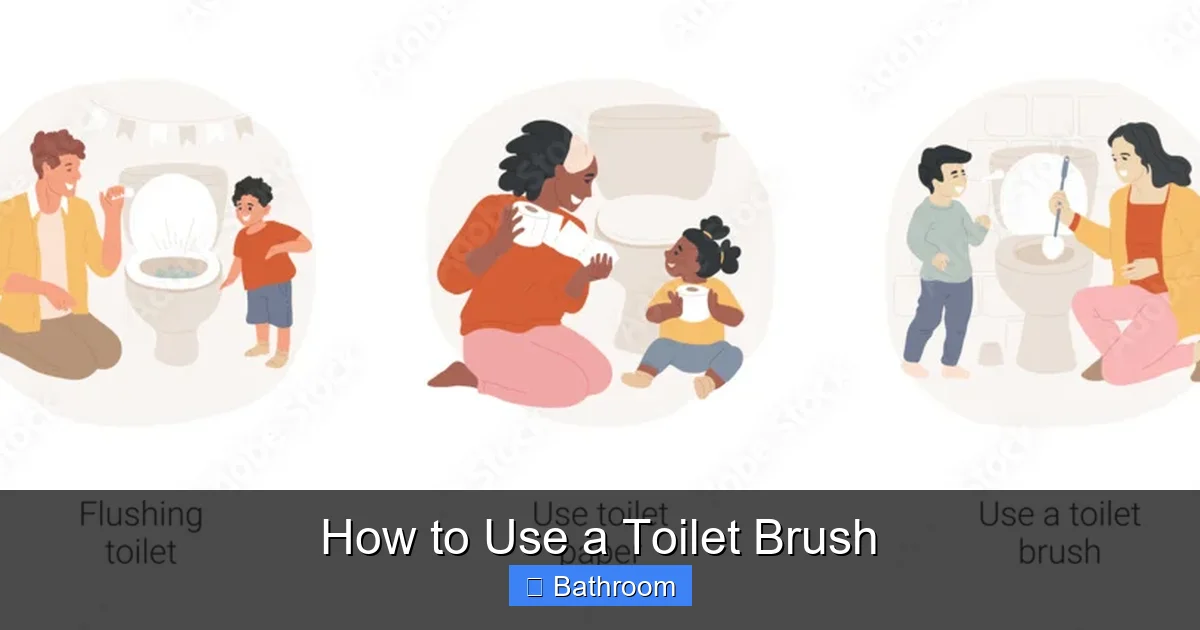
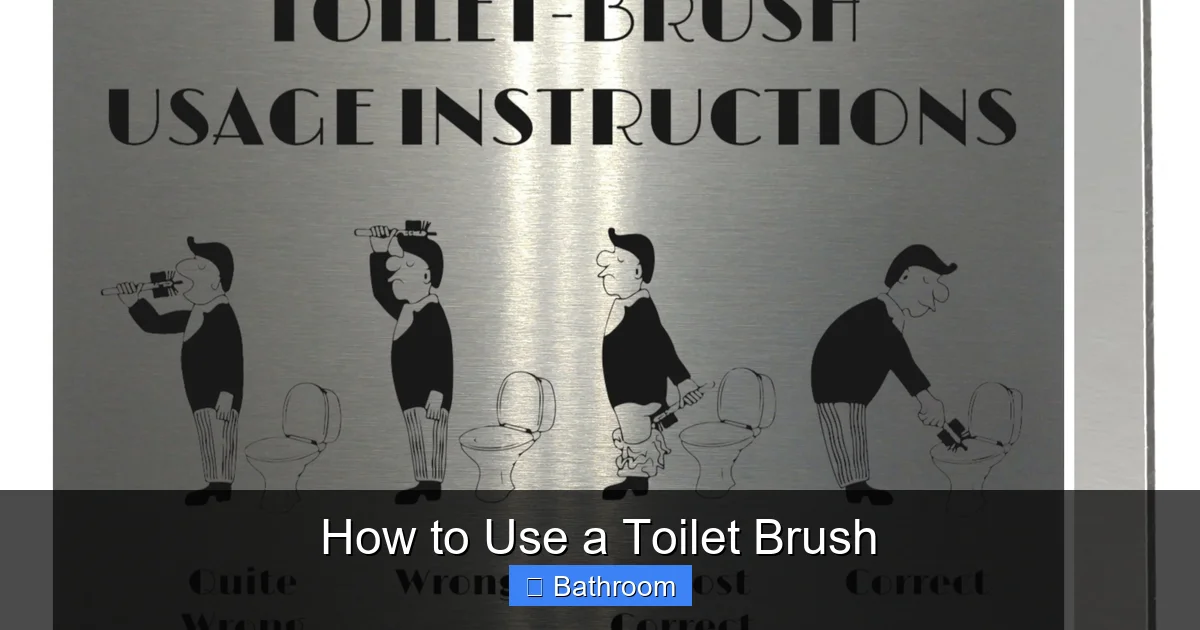
Visual guide about How to Use a Toilet Brush
Image source: image.shutterstock.com
Hygiene and Health Benefits
When you use a toilet brush correctly, you’re not only cleaning the surface but also removing biofilm—a slimy layer of bacteria that forms inside the bowl. This invisible film can’t be seen with the naked eye, but it’s the reason why your toilet might still smell bad even after cleaning. A good brush, used with the right technique, can break down this biofilm and leave your toilet fresh and sanitized.
Preventing Plumbing Issues
Neglecting your toilet brush can lead to mineral deposits and soap scum buildup, especially in the trapway (the curved pipe inside the bowl). Over time, this buildup can restrict water flow and cause clogs. Regular brushing helps prevent these issues by keeping the interior of the bowl clean and allowing water to flow freely.
Maintaining Appearance and Smell
A clean toilet isn’t just functional—it’s also more pleasant to use. Stains, limescale, and mildew can make your bathroom look unclean, even if you’ve just cleaned it. Using a toilet brush regularly removes these unsightly marks and keeps your toilet smelling fresh. Plus, a well-maintained toilet adds to the overall cleanliness of your home.
What You’ll Need to Use a Toilet Brush
Before you start, make sure you have the right tools. Using a toilet brush doesn’t require expensive equipment—just a few basics that are likely already in your bathroom. Here’s what you’ll need:
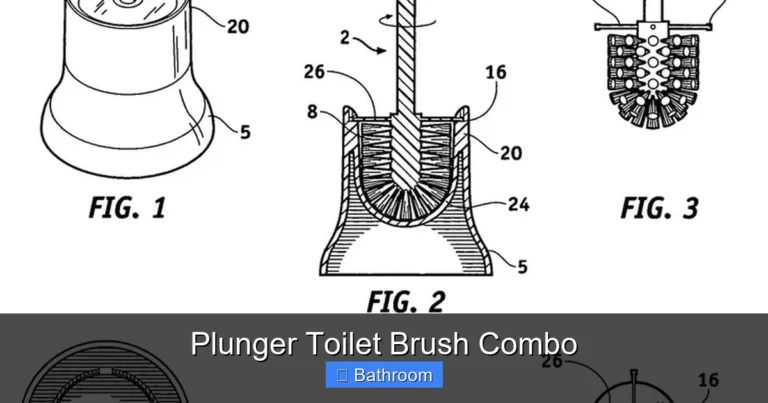
Visual guide about How to Use a Toilet Brush
Image source: i.etsystatic.com
- A toilet brush and holder: Choose a brush with soft, durable bristles and a holder that allows the brush to dry properly.
- Toilet cleaner or bathroom cleaner: Use a mild, non-abrasive cleaner to avoid scratching the porcelain.
- A toilet plunger (optional): Useful if you notice clogs after brushing.
- A clean cloth or paper towel: For wiping the brush handle and holder.
- Disposable gloves (optional): For extra hygiene, especially if you have a compromised immune system.
Pro Tip: Avoid using harsh chemicals like bleach or ammonia near the brush unless necessary. These can damage the bristles or leave behind strong fumes. Instead, opt for enzyme-based cleaners that are gentle yet effective.
Step-by-Step Guide: How to Use a Toilet Brush
Now that you have everything ready, let’s go through the process of using a toilet brush. This step-by-step guide will help you clean your toilet efficiently and safely.
Step 1: Prepare the Area
Before you begin, close the toilet lid to prevent splashing. If you don’t have a lid, at least keep it slightly ajar to minimize the spread of germs. Place a clean cloth or paper towel on the floor around the toilet to catch any drips. This small step can make cleanup easier and keep your floor dry.
Step 2: Add Cleaner
Pour a small amount of toilet cleaner into the bowl, focusing on areas with visible stains or buildup. You don’t need much—just enough to cover the surface. Avoid overusing cleaner, as it can leave a sticky residue that attracts dirt. For best results, let the cleaner sit for 3–5 minutes to break down grime.
Step 3: Put on Gloves (Optional)
While not required, wearing disposable gloves adds an extra layer of protection. This is especially helpful if you’re sensitive to germs or have open cuts on your hands. Remember to remove and dispose of gloves after use and wash your hands thoroughly.
Step 4: Insert and Scrub the Brush
Grip the brush firmly and insert it into the bowl, starting at the waterline. Scrub in a circular motion, making sure to reach all areas—especially under the rim and around the trapway. Don’t just scrub the surface; focus on the hidden spots where bacteria and buildup tend to accumulate. Use moderate pressure—no need to scrub too hard, as this can damage the porcelain.
Step 5: Flush and Rinse
After scrubbing, flush the toilet to rinse away the cleaner and loosened debris. Then, rinse the brush under running water for 10–15 seconds to remove any residue. This step is crucial—leaving cleaner on the bristles can lead to mold and unpleasant smells.
Step 6: Dispose of Waste Properly
If there’s any solid waste on the brush, flush it down the toilet immediately. Never wipe it on the floor or put it in the trash, as this can spread germs. After flushing, give the brush another quick rinse to ensure it’s clean.
Step 7: Clean the Brush and Holder
Wipe the brush handle and bristles with a clean cloth or paper towel. Then, rinse the brush holder thoroughly with water and soap. If it’s removable, take it apart and scrub it with a small brush or sponge. Let everything air dry completely before reassembling.
Step 8: Store the Brush Properly
Place the brush upright in its holder with the bristles facing up. This allows air to circulate and prevents mold growth. Avoid covering the brush or storing it in a damp area. If your holder has a lid, make sure it’s breathable—or remove it entirely for better airflow.
Best Practices for Toilet Brush Maintenance
Using a toilet brush is just the first step. To keep it effective and hygienic, you need to maintain it properly. Here are some best practices to follow:
Clean the Holder Weekly
Even if you clean the brush after every use, the holder can collect bacteria and mold over time. Set aside one day a week to clean the holder thoroughly. Use warm water, soap, and a scrub brush to remove any buildup. For extra hygiene, soak the holder in a diluted vinegar solution for 15 minutes once a month.
Replace the Brush Regularly
Most toilet brushes should be replaced every 3 to 6 months, depending on usage. Signs it’s time to replace the brush include frayed bristles, a strong odor, or visible mold. Don’t wait until it’s completely worn out—replace it as soon as you notice any of these signs.
Use a Brush with a Long Handle
A long-handled brush allows you to reach deeper into the bowl without straining your back. It also keeps your hands farther from the germ-filled water, reducing the risk of contamination. Look for brushes with ergonomic handles for added comfort.
Consider a Self-Cleaning Brush
Some modern toilet brushes come with built-in sanitizing systems, such as UV light or automatic cleaning cycles. While these can be more expensive, they offer added convenience and hygiene. If you’re a germaphobe or have young children, this might be worth the investment.
Avoid Sharing Brushes
Never share your toilet brush with family members or guests. Each person should have their own brush, or at least use theirs only once and clean it thoroughly afterward. Sharing brushes can spread bacteria and compromise hygiene.
Common Mistakes to Avoid
Even with the best intentions, it’s easy to make mistakes when using a toilet brush. Here are some common errors and how to avoid them:
Mistake 1: Not Cleaning Under the Rim
The area under the rim is one of the most neglected spots in the toilet. Bacteria and buildup love to hide here. Always make a point to scrub this area during your cleaning routine.
Mistake 2: Leaving the Brush in Water
Never let the brush sit in a puddle of water in the holder. This creates a perfect environment for mold and bacteria to grow. Always rinse and store the brush dry.
Mistake 3: Using Too Much Cleaner
More cleaner doesn’t mean better cleaning. Excess cleaner can leave a film that attracts dirt and smells. Use just enough to cover the surface and let it sit for a few minutes.
Mistake 4: Not Washing Hands After Use
Your hands can pick up bacteria from the brush handle. Always wash your hands with soap and water for at least 20 seconds after cleaning the toilet.
Mistake 5: Using the Brush for Other Purposes
Don’t use the toilet brush to clean other surfaces, like floors or sinks. This can spread germs and damage the bristles. Keep it dedicated to toilet cleaning only.
Eco-Friendly and Sustainable Toilet Brush Options
If you’re looking to reduce your environmental impact, there are several eco-friendly toilet brush options available. These brushes are made from sustainable materials and often come in recyclable packaging.
Bamboo Brushes
Bamboo is a fast-growing, renewable resource that’s naturally antimicrobial. Bamboo toilet brushes are durable, biodegradable, and compostable at the end of their life. Just make sure the bristles are made from natural fibers or replaceable plastic.
Refillable Brushes
Some brushes come with replaceable heads, so you only need to replace the bristles instead of the entire brush. This reduces waste and saves money in the long run. Look for brands that offer recyclable or biodegradable brush heads.
DIY Cleaning Solutions
Instead of buying chemical-heavy cleaners, try making your own using vinegar, baking soda, and essential oils. These natural ingredients are effective at breaking down grime and leave a fresh scent without harsh fumes.
When to Call a Professional
While regular brushing can handle most cleaning tasks, there are times when you might need professional help. If you notice persistent clogs, strong odors, or visible damage to the toilet bowl, it’s time to call a plumber. These issues could indicate a deeper problem that a toilet brush alone can’t fix.
Conclusion
Using a toilet brush correctly is a small task with big rewards. Not only does it keep your toilet clean and fresh, but it also helps protect your family’s health and prevents plumbing issues. By following the steps and tips in this guide, you can make toilet brushing a simple, effective part of your cleaning routine. Remember to clean thoroughly, store properly, and replace your brush when needed. With a little effort, you’ll have a sparkling, hygienic toilet—every time.
Frequently Asked Questions
How often should I clean my toilet brush?
You should rinse your toilet brush after every use and clean the holder weekly. Replace the brush every 3 to 6 months for optimal hygiene.
Can I use bleach with my toilet brush?
Yes, but sparingly. Bleach is effective at killing germs, but it can damage bristles and leave strong fumes. Use it only occasionally and rinse the brush thoroughly afterward.
How do I clean a moldy toilet brush?
Soak the brush in a mixture of warm water and vinegar for 15–20 minutes. Scrub with a brush and rinse well. If the mold persists, replace the brush.
Should I use a toilet brush with a plunger?
Yes, but use them for different purposes. The brush cleans the bowl, while the plunger clears clogs. Keep them separate to avoid cross-contamination.
Can I use a regular toothbrush instead of a toilet brush?
No. Toilet brushes are designed for the size and shape of a toilet bowl. A toothbrush is too small and won’t clean effectively.
Is it safe to use a toilet brush without gloves?
Yes, but it’s safer to wear gloves, especially if you have open cuts or a weakened immune system. Always wash your hands thoroughly after cleaning.