How to Do an Oil Change at Home Without a Mechanic
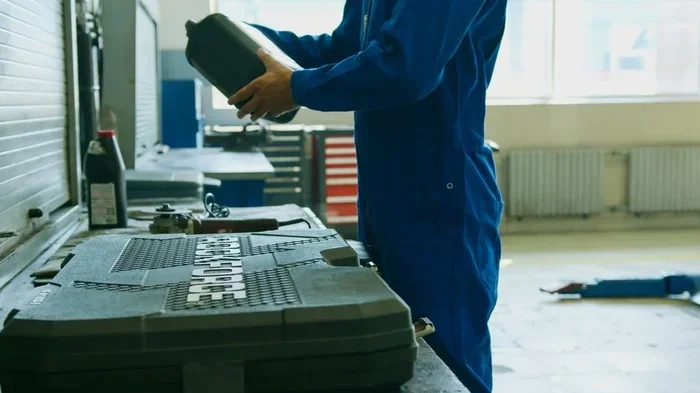
Doing an oil change at home is easier than you think and can save you serious money. With the right tools and a little patience, anyone can change their engine oil without visiting a mechanic. This guide walks you through every step safely and clearly.
Changing your car’s oil at home might seem intimidating. But the truth is, it is one of the simplest maintenance jobs you can do. You do not need years of experience or fancy tools. A few basic supplies and about thirty minutes is all it takes.
Learning how to do an oil change at home gives you control over the process. You choose the oil type. You pick the filter. You set the schedule. Plus, you skip the shop markup entirely. Most drivers save between fifty and one hundred dollars per oil change by doing it themselves.
Whether you drive a sedan, truck, or SUV, the basics stay the same. This guide covers everything from gathering supplies to proper disposal. By the end, you will feel confident tackling your first DIY oil change. Let us get started.
Key Takeaways
- Save Money: Changing your oil at home costs a fraction of what a mechanic charges.
- Simple Process: The steps are straightforward and easy to follow for beginners.
- Right Tools Matter: Having the correct equipment makes the job safe and efficient.
- Safety First: Always use jack stands and work on a level surface.
- Dispose Properly: Used motor oil must be recycled, not thrown in the trash.
- Check Your Manual: Every vehicle has specific oil type and filter requirements.
- Regular Changes Matter: Staying on schedule keeps your engine healthy for years.
📑 Table of Contents
Why Change Your Oil at Home
Many car owners pay a shop thirty to seventy dollars for a basic oil change. When you do it yourself, the cost drops to around twenty to forty dollars. That is real savings over time. But money is not the only reason to learn this skill.
When you change your oil at home, you know exactly what goes into your engine. No upsells. No mystery additives. You control the oil quality and filter brand. This matters for long-term engine health.
Regular oil changes are the single most important thing you can do for your car. Fresh oil lubricates engine parts. It reduces friction. It carries heat away. Old, dirty oil breaks down and stops protecting your engine. Over time, this leads to costly repairs.
Tools and Supplies You Will Need
Before you start, gather everything you need. Having all your supplies ready makes the process smooth. Here is what you will need:
- New engine oil – Check your owner’s manual for the correct type and amount
- New oil filter – Match it to your vehicle model
- Oil drain pan – Big enough to catch all the old oil
- Socket wrench and socket – Fits your drain plug
- Oil filter wrench – Helps remove the old filter
- Jack and jack stands – Never rely on a jack alone
- Funnel – For pouring new oil without spills
- Gloves and safety glasses – Protect your hands and eyes
- Rags or paper towels – For cleanup
- Disposable drain pan – For transporting used oil
You can find most of these items at any auto parts store. A basic socket set and oil filter wrench are worth the small investment. They make the job much easier and safer.
Setting Up Your Workspace
Where you place your workspace at home matters. Park your car on a flat, level surface. A concrete driveway works best. Avoid grass or gravel. Make sure the area is well-lit and has enough room to move around the front of the car.
Just like how you would organize a workspace for any project, keeping your tools within arm’s reach makes a big difference. Lay out your supplies before you lift the car. This way, you will not be scrambling while oil is dripping.
Step-by-Step Oil Change Guide
Now for the main event. Follow these steps in order and you will have a clean, successful oil change. Take your time and do not rush.
Step 1: Warm Up the Engine
Start your car and let it idle for about three to five minutes. Warm oil flows faster and drains more completely. Do not drive around the block. Just let it sit running in the driveway.
Then turn off the engine. Wait a minute or two for the oil to settle. The drain plug will be hot, so let it cool slightly before touching it.
Step 2: Lift the Car Safely
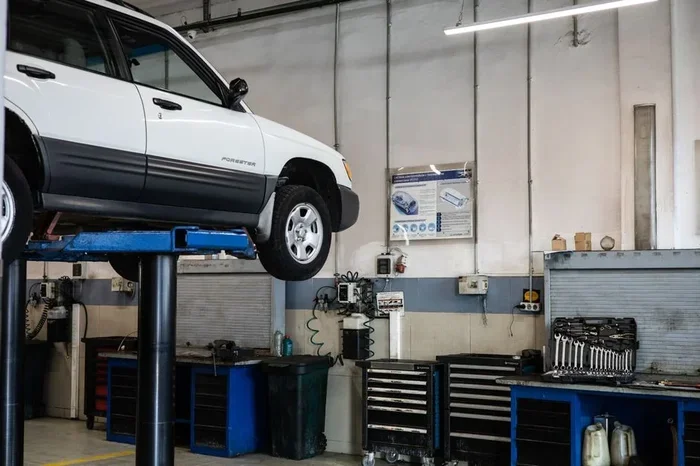
Use your car’s jack to lift the front end. Find the designated jack point under the frame. Once the car is up, place jack stands under the frame rails. Never work under a car supported only by a jack.
Give the car a firm push to make sure the stands are secure. The car should not wobble or shift. Safety is the most important part of any DIY maintenance job.
Step 3: Drain the Old Oil
Slide your drain pan under the oil drain plug. Use your socket wrench to loosen the plug. Turn it counterclockwise. Be careful. The oil will start flowing immediately.
Let the old oil drain completely. This takes about ten to fifteen minutes. You can loosen the oil filter while you wait. That way, both will be ready to remove at the same time.
Once the oil stops dripping, remove the drain plug. Wipe it clean with a rag. Check the washer or gasket on the plug. Replace it if it looks worn or flattened.
Step 4: Remove the Old Oil Filter
Place your drain pan under the oil filter. Use an oil filter wrench to loosen it. Turn counterclockwise. The filter will be full of old oil, so have your pan ready.
Before you install the new filter, rub a thin layer of fresh oil on the rubber gasket. This creates a better seal and makes future removal easier. Screw the new filter on by hand. Tighten it snugly but do not overtighten.
Step 5: Add New Oil
Lower the car back to the ground. Remove the oil fill cap on top of the engine. Place a funnel in the opening. Pour in the new oil slowly.
Add about three-quarters of the recommended amount first. Then wait a minute for the oil to settle. Check the dipstick. Add more oil until the level reaches the full mark. Do not overfill.
Step 6: Check for Leaks
Start the engine and let it run for one to two minutes. Look under the car at the drain plug and oil filter. Watch for any drips or leaks.
Turn off the engine and wait a few minutes. Check the oil level again on the dipstick. Top off if needed. Then wipe down any spills and clean up your tools.
Step 7: Dispose of Used Oil Properly
Used motor oil is hazardous waste. Never pour it down a drain or into the trash. Pour the old oil from the drain pan into a sealed container.
Take it to a local auto parts store or recycling center. Most stores accept used oil for free. Some places even let you return used oil filters. This is the responsible way to complete your oil change at home.
Choosing the Right Oil and Filter
Not all engine oil is the same. The right oil depends on your vehicle, driving habits, and climate. Your owner’s manual is the best place to start.
Understanding Oil Viscosity
You will see numbers like 5W-30 or 0W-20 on oil bottles. The first number shows how the oil flows in cold temperatures. The second number shows thickness at operating temperature. Thinner oil flows easier in winter. Thicker oil protects better in hot weather.
Most modern cars use synthetic or synthetic blend oil. These last longer and perform better in extreme temperatures. Conventional oil is cheaper but needs changing more often.
Picking the Right Filter
Oil filters remove dirt and debris from your oil. A good filter keeps your engine clean. Look for filters that match your vehicle’s make and model. Brand name filters often have better filtration media. But aftermarket options can work well too.
Check the filter’s micron rating and capacity. Higher quality filters trap smaller particles and hold more contaminants. This is especially important if you drive in dusty or stop-and-go conditions.
Common Mistakes to Avoid
Even simple jobs have pitfalls. Here are the most common mistakes people make when changing oil at home:
- Using the wrong oil type: Always match the viscosity and specification in your owner’s manual.
- Forgetting the new filter gasket: The old gasket can stick and cause leaks if you do not remove it.
- Overtightening the drain plug: This can strip the threads or crack the oil pan.
- Underfilling or overfilling oil: Both cause engine problems. Always check the dipstick.
- Skipping jack stands: Never work under a car on just a jack. It is extremely dangerous.
- Not running the engine after the change: This circulates the new oil and helps you spot leaks early.
Avoiding these mistakes keeps your engine safe and your oil change effective. Take your time and double-check each step.
How Often Should You Change Your Oil
The old rule of changing oil every three thousand miles is outdated. Modern engines and oils last much longer. Check your owner’s manual for the manufacturer’s recommendation.
Most newer cars need an oil change every five thousand to seven thousand miles. Some synthetic oils can go up to ten thousand miles or more. Your driving style also matters. Short trips, towing, and extreme heat mean more frequent changes.
Set a reminder on your phone or calendar. Staying consistent with your oil change schedule is one of the best things you can do for your vehicle’s longevity.
Benefits of Learning Car Maintenance
Once you learn how to change your oil, you open the door to other DIY car repairs. You will understand your vehicle better. You will save money over your ownership. And you will have the confidence to handle unexpected issues on the road.
Keeping up with basic maintenance also helps your car hold its value. A well-maintained car sells for more than a neglected one. Every oil change you do yourself adds to that value.
Quick Tips for a Smooth Oil Change
- Keep a calendar or app to track your mileage between oil changes
- Buy oil and filters in bulk during sales to save even more money
- Always have extra rags and paper towels on hand
- Take photos of the old filter and drain plug area for reference
- Recycle the old oil at a certified collection center
- Keep a log of each oil change with the date and mileage
Conclusion
Learning how to do an oil change at home is one of the most useful skills a car owner can develop. It saves money, builds confidence, and keeps your engine running strong. The process is straightforward and takes less time than a trip to the shop.
With the right supplies, a safe workspace, and this guide, you are ready to tackle your first oil change. Start with your next scheduled change and see how easy it really is. Your car and your wallet will thank you.
Remember to dispose of used oil properly and keep a record of each change. Once you get the hang of it, you will wonder why you ever paid someone else to do it. Happy wrenching.
Frequently Asked Questions
How long does it take to change oil at home?
Most people finish an oil change at home in about thirty to forty-five minutes. Once you do it a few times, you will get faster. The biggest time sink is waiting for the old oil to drain completely.
Can I use any type of oil for my car?
No. Always use the oil type and viscosity recommended in your owner’s manual. Using the wrong oil can cause engine damage over time. Check the oil cap under your hood for the recommended specification.
What do I do with the old oil and filter?
Take your used oil to an auto parts store, recycling center, or municipal waste facility. Never dump it on the ground or in a storm drain. Most stores accept used oil for free. You can also recycle the old oil filter.
Do I need special tools to change oil at home?
You need a basic socket wrench, an oil filter wrench, a drain pan, and jack stands. These tools are affordable and reusable for many future oil changes. You likely already own some of them.
Is it safe to change oil at home?
Yes, as long as you follow safety precautions. Always use jack stands and work on a flat surface. Wear gloves and safety glasses. Let the engine cool before starting. If you feel unsure, watch a few video tutorials first.
How do I know if I added the right amount of oil?
After adding oil, wait a minute and check the dipstick. The oil level should fall between the minimum and maximum marks. Overfilling can cause pressure problems. Underfilling can lead to engine wear. Always aim for the full mark.